
Table of Contents
Creating A Vehicle Body
Because of budget limitations, the Body Designer in GearCity is a bit cumbersome. We recommend you use the predesigned vehicle bodies included in the game. But if you want to know how to create your own vehicle bodies, continue reading this chapter.
Opening Body Designer

When you go to create a vehicle body, the game will prompt you with this selection window. We recommend using a Premade design, but if you want to create your own body, you'll need to click the Custom Button (#1).
Body Selector
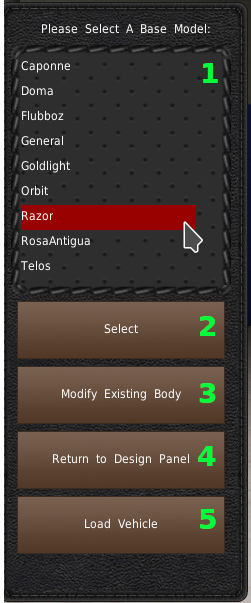
The first section of the body designer is the body selection panel. The panel is attached to the left of the screen. You'll find a list of vehicle bodies at the top (#1). Selecting a vehicle from this list will display the body in the center of the window.
If you have found the base body design you wish to use, you'll need to click the “Select” button (#2) to continue. If you have already created your design and want to modify it, you would use the “Modify Existing Body” button (#3), or if you wish to return back to the Vehicle Design windows, you can click the “Return to Design Panel” button (#4). If either of these is the case, whatever you do, do not click a design from the list (#1). Otherwise, the game will erase your previous design.
Finally, if you previously made a custom design and want to load it, you can do it with the “Load Vehicle” (#5). See the Load Vehicle section for more details.
Designer Menu And Light Panel
The game will show you the Design and Light Menu upon selecting a base body from the list and clicking the “Select” button.
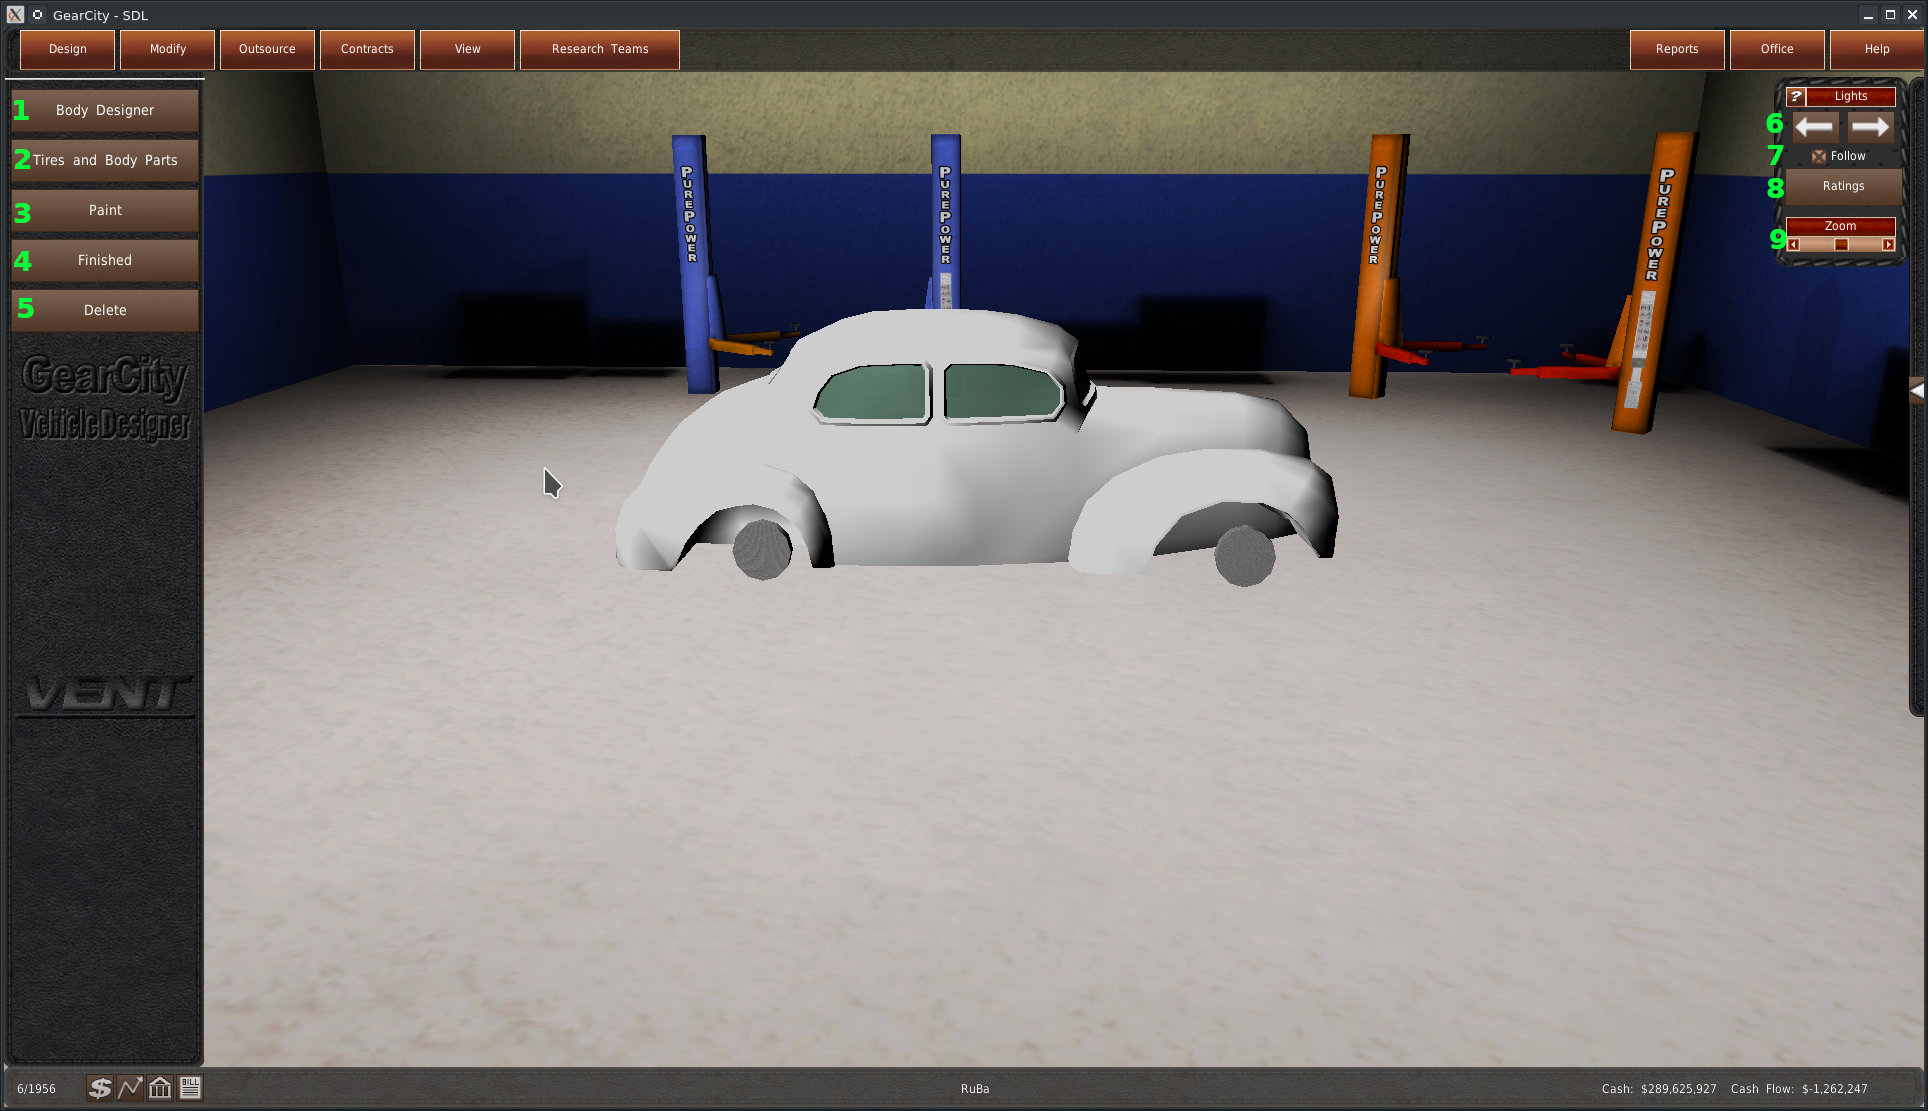
On the left side of the screen is the Designer Menu. This menu allows you to switch between the three different body design tools. You can also complete the design or delete the design.
- Body Designer ⇒ This tool allows you to adjust the base model's shape using a series of morph animations. Please note, the game will remove any Tires or Body Parts you placed on the vehicle if you alter the base model's shape.
- Tires and Body Parts ⇒ You'll use this tool to place tires, mirrors, headlights, and many other body parts to the vehicle. You can also adjust the shape and sizes of those body parts and move them around.
- Paint ⇒ The paint tool allows you to paint various parts of the vehicle, including the body, the parts, and the glass.
- Finished ⇒ When you've completed your body design, click this button to return to the vehicle design system so you can complete the overall design.
- Delete ⇒ This button deletes the design you have made and returns you to the Body Selection panel.
In the upper right is the lighting panel. You will use this panel to adjust the light position in the room. The two arrow buttons (#6) move the light left and right, respectively. Below that is a checkbox that says “Follow” (#7). If this is enabled, the lights will follow the camera around the room. You can move the camera using the arrow keys on your keyboard or right-click and drag your mouse.
Vehicle bodies affect vehicle specs, which in turn affects vehicle ratings. The “Rating” button (#8) will open the vehicle rating window to see how the body is altering the ratings. Finally, the “Zoom” slider (#9) allows you to move the camera in and out.
Body Designer
Clicking “Body Designer” from the design menu will open the Body Designer tool in the bottom right of the window.
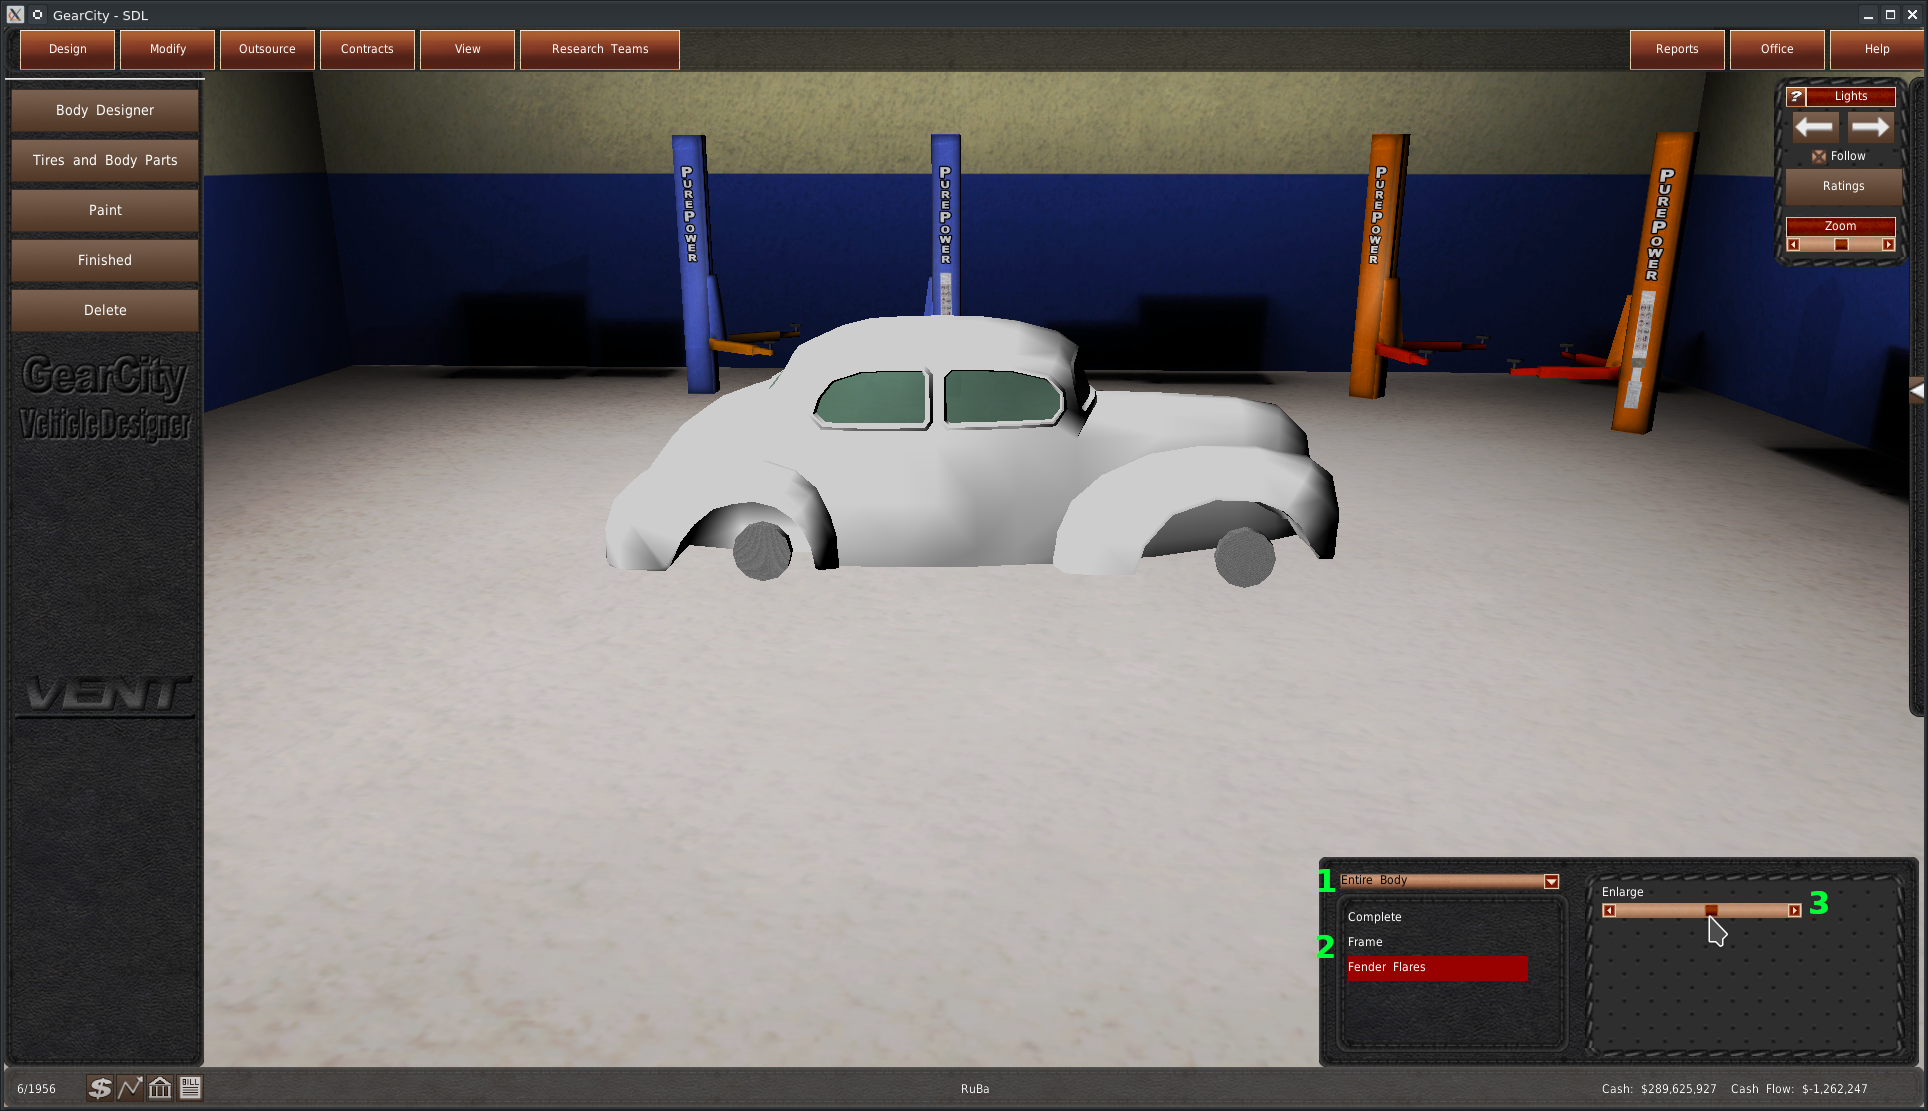
This panel contains all the morph animations for the vehicle body. At the top left of the panel is a dropdown box (#1). This box contains a list of sectional groups that you can modify. Selecting a group from the dropdown will display sub-groups in the list below (#2). Selecting a sub-group will load the morph animation sliders on the right (#3).
Adjusting the slider will alter the shape of the vehicle's body. The group, sub-group, and animation-name should give you a general indication of what will change.
Paint System

You can access the Painting system by clicking the “Paint” button from the Design menu. This button opens the paint tool in the bottom right of the screen.
The game includes four different paint types, Paint, Metal, Leather, and Glass. You can switch between them using the dropdown box (#1). Most objects on the vehicle are paintable. However, you can not paint every object with every type of paint.
The different paints appear in the rest of the panel (#2). To paint an object, click a color, and then click the item you want to paint.
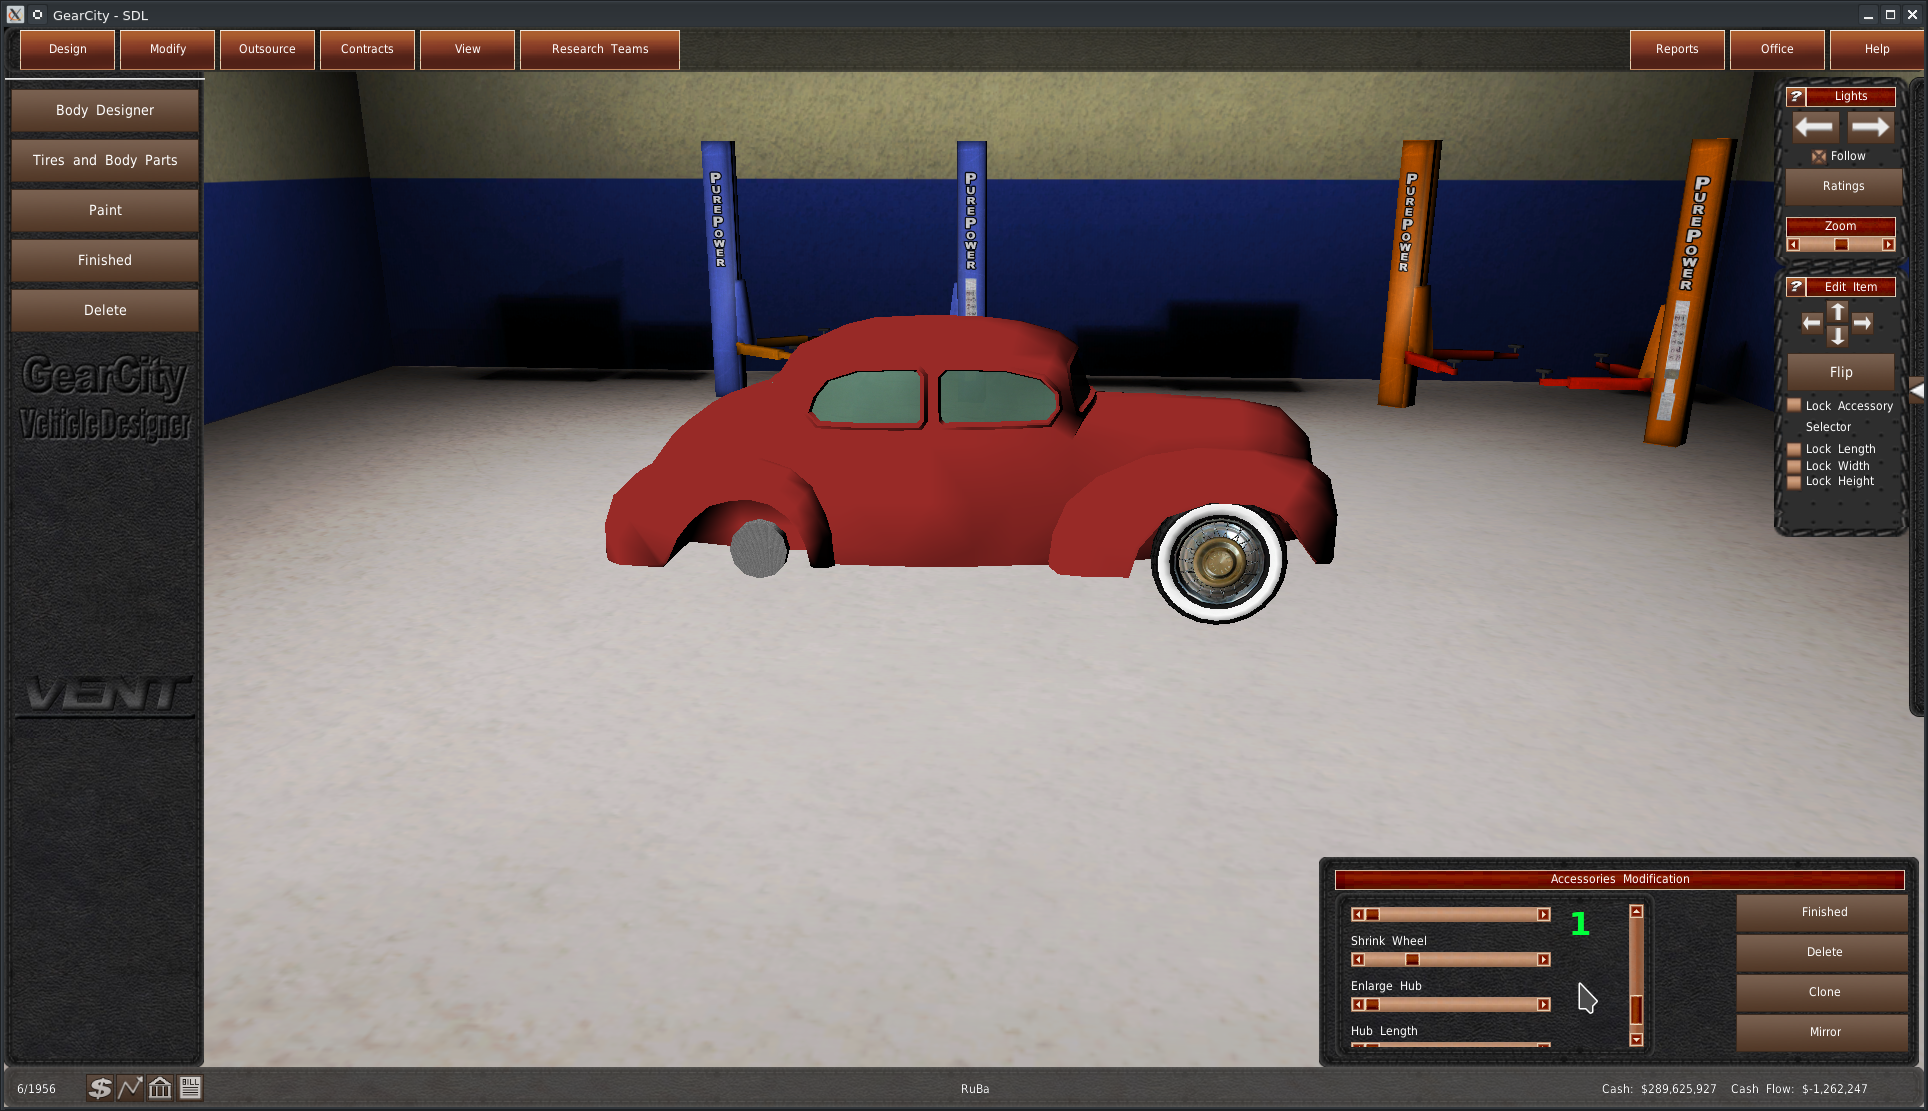
Tires and Body Parts

You'll notice that the base body doesn't have wheels, lights, or anything else. You have to add these things to the vehicle yourself. To do that, you'll click the “Tires and Body Parts” button. This action opens the Accessories panel in the bottom right of the window.
In the top left of this window is a dropdown box (#1). Each item in this box is a category of body parts for the vehicle. Selecting an item from the list will display icons buttons for each available part below (#2).
There are two ways to apply a body part to the vehicle, the “click” method and the “drag” method. You can toggle between the two using the radio buttons on the right (#3). We will cover these shortly.
Finally, there is a checkbox under the radio buttons called “Auto Mirror” (#4). This functionality will mirror body parts across to the other side of the vehicle. For example, if you place a tire on the driver's side of the vehicle, the game will automatically place a tire on the other side of the vehicle.
Click Method

The first and most common method of component placement is the click method. It is enabled by default, but in case you need to enable it yourself, click the Click Method radio button (#1). Next, you'll need to click the part you want to add to the vehicle (#2). Then you need to click where on the vehicle you want to place it (#3). And that's it. The game adds the part to the location you clicked. If Auto Mirror is enabled, it will make a duplicate on the other side of the vehicle and link them together.
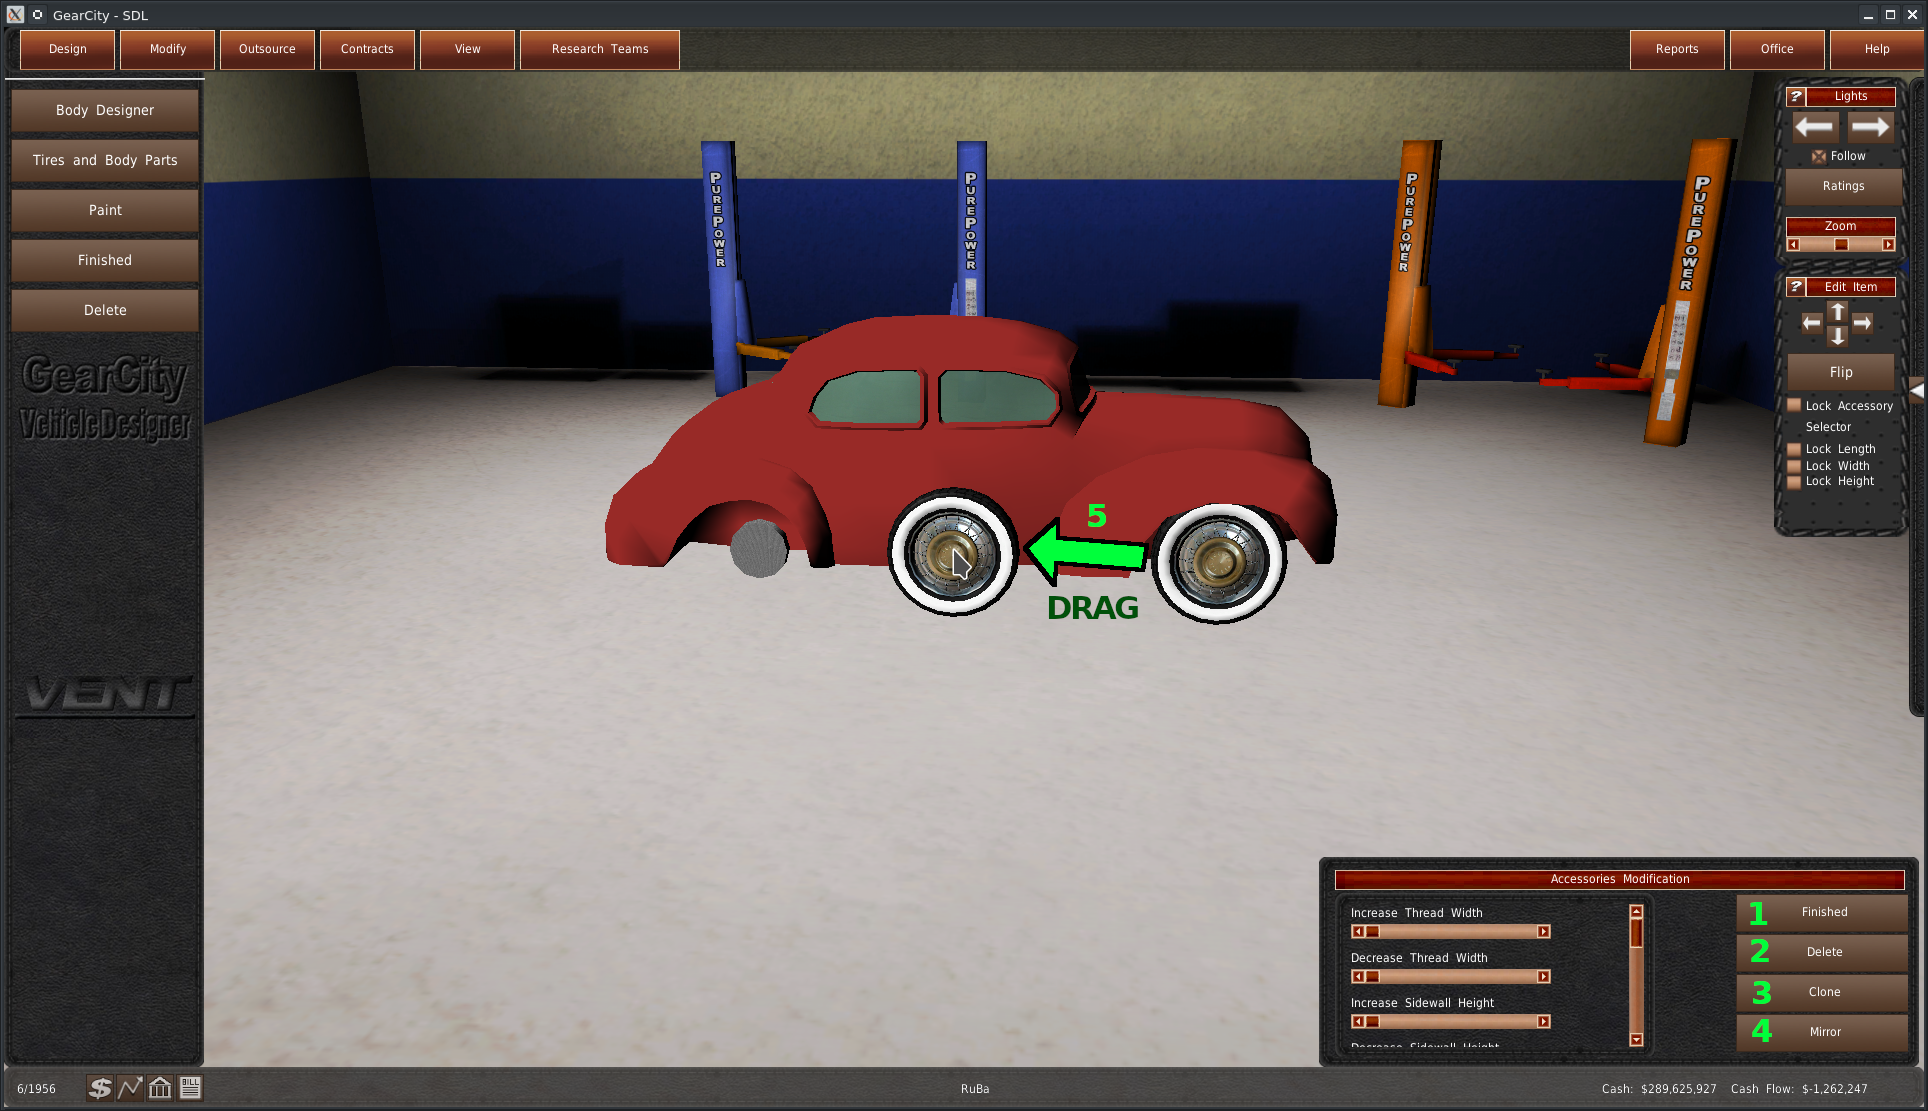
Drag Method
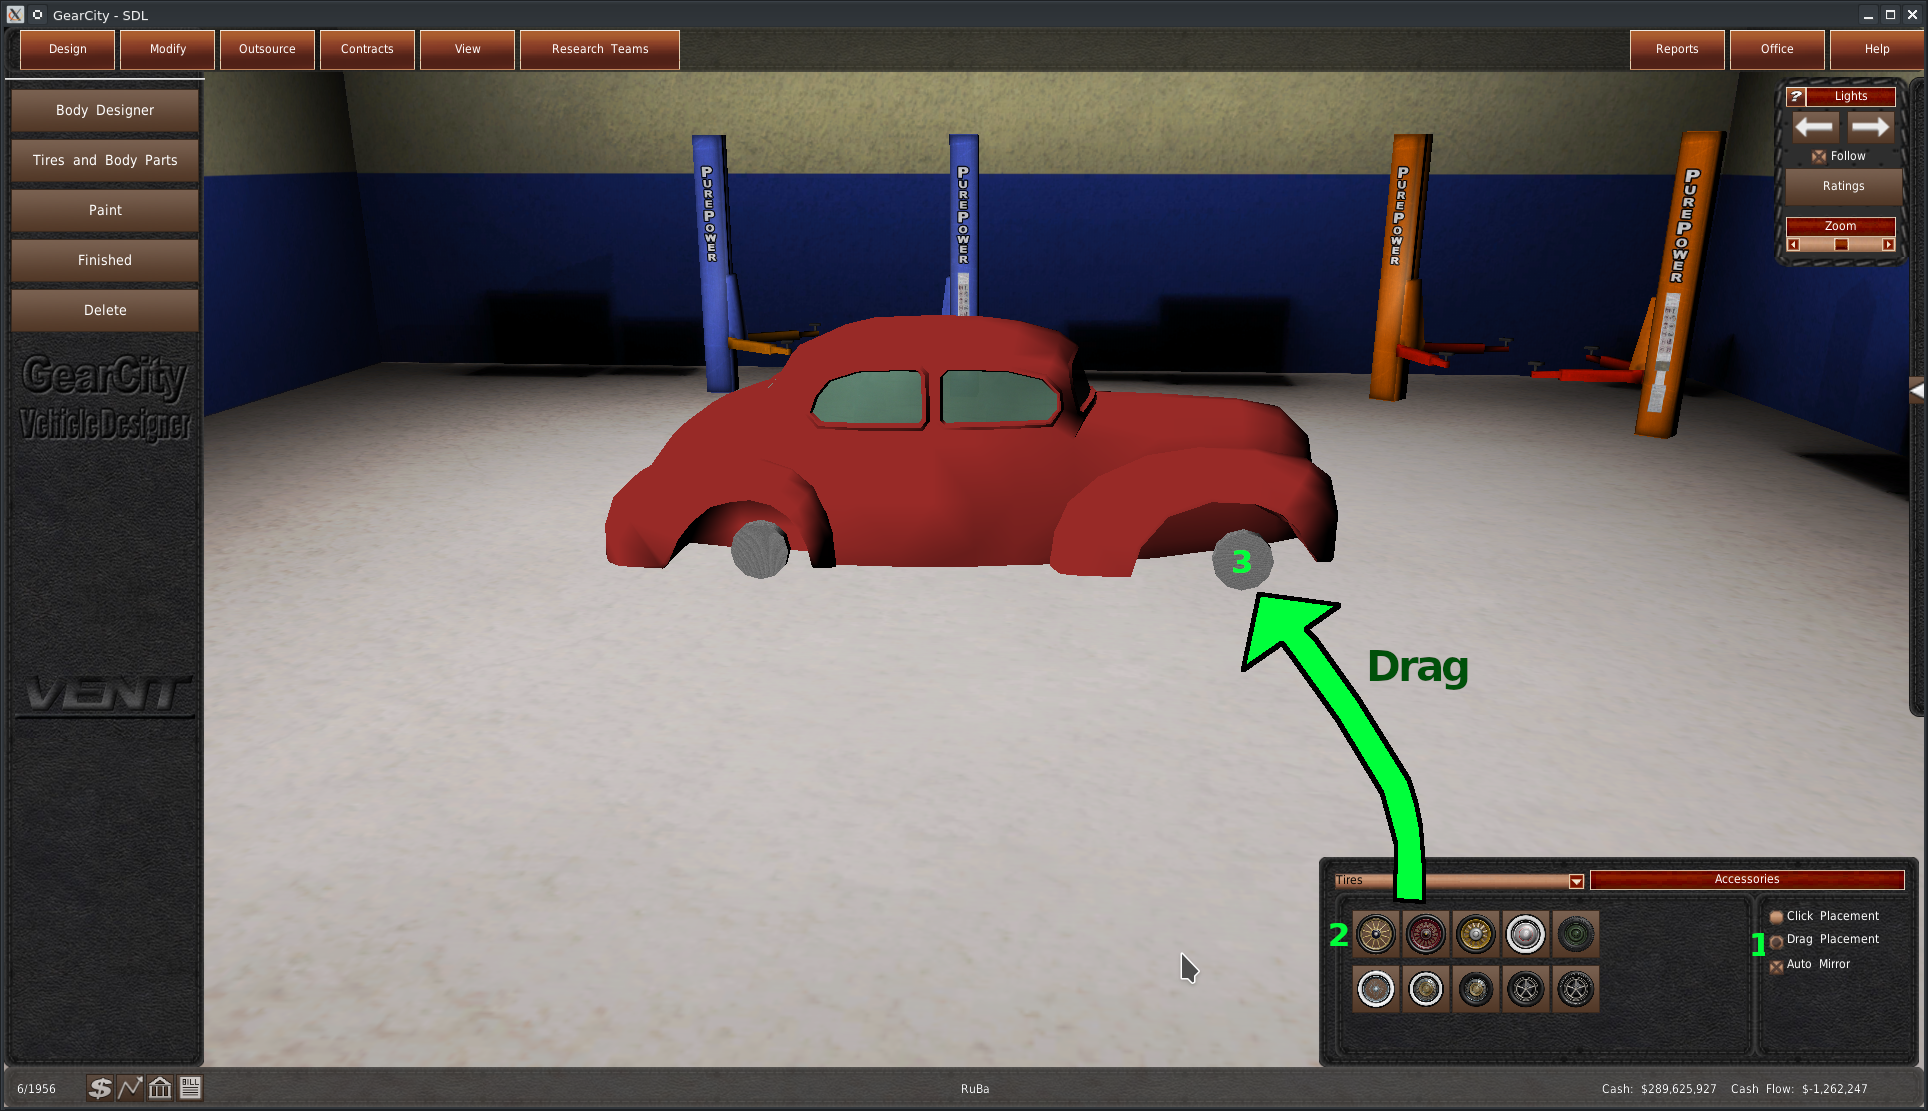
The drag method was the default placement method for many years. But we replaced it with the click placement system. To use the drag system, you'll need to select the Drag Method radio button (#1). Now you will drag (hold the mouse button down and move) the part icon (#2) to where you want to place it on the vehicle (#3).
Modifying Parts
Once you place a component on a part, you'll be able to modify its shape and size using the morph animation sliders. This system works similarly to body designer. You can make changes to the part by scrolling down the list of animations and adjusting the slider positions (#1). If you added the part with Auto Mirror enabled, the mirrored part will also receive any changes you make.
Parts Buttons & Parts Movement
On the side of the Parts Modification panel are four buttons. The top button is the “Finished” button (#1), and you would use this button to complete the part editing phase. It will return you to the Part Selection panel. You can always reenter the Parts Modification panel by clicking on the part on the vehicle.
The next button is the “Delete” button (#2). This button will delete the selected part and return you to the Part Selection panel. There is no undoing, so be sure this is what you want to do.
The third button is the “Clone” button (#3). This button will make a duplicate copy of the selected part and the mirrored part if applicable. The cloned part(s) is directly on top of the original part(s). So you will need to click and drag the part(s) to where you want to place them (#5). You can also use this mouse action to change the placement of any parts you apply to the vehicle.
The final button is the “Mirror” button (#4). This button makes a duplicate copy of the selected part on the opposite side of the vehicle. It then links the duplicate to the selected part so that any movement or modification of the part will apply to the duplicate. If Auto Mirror was enabled when the original part was placed, you likely do not have to use the mirror button. You can always check the other side of the vehicle by moving the camera with the arrow buttons or the right button on your mouse.
Additional Movements
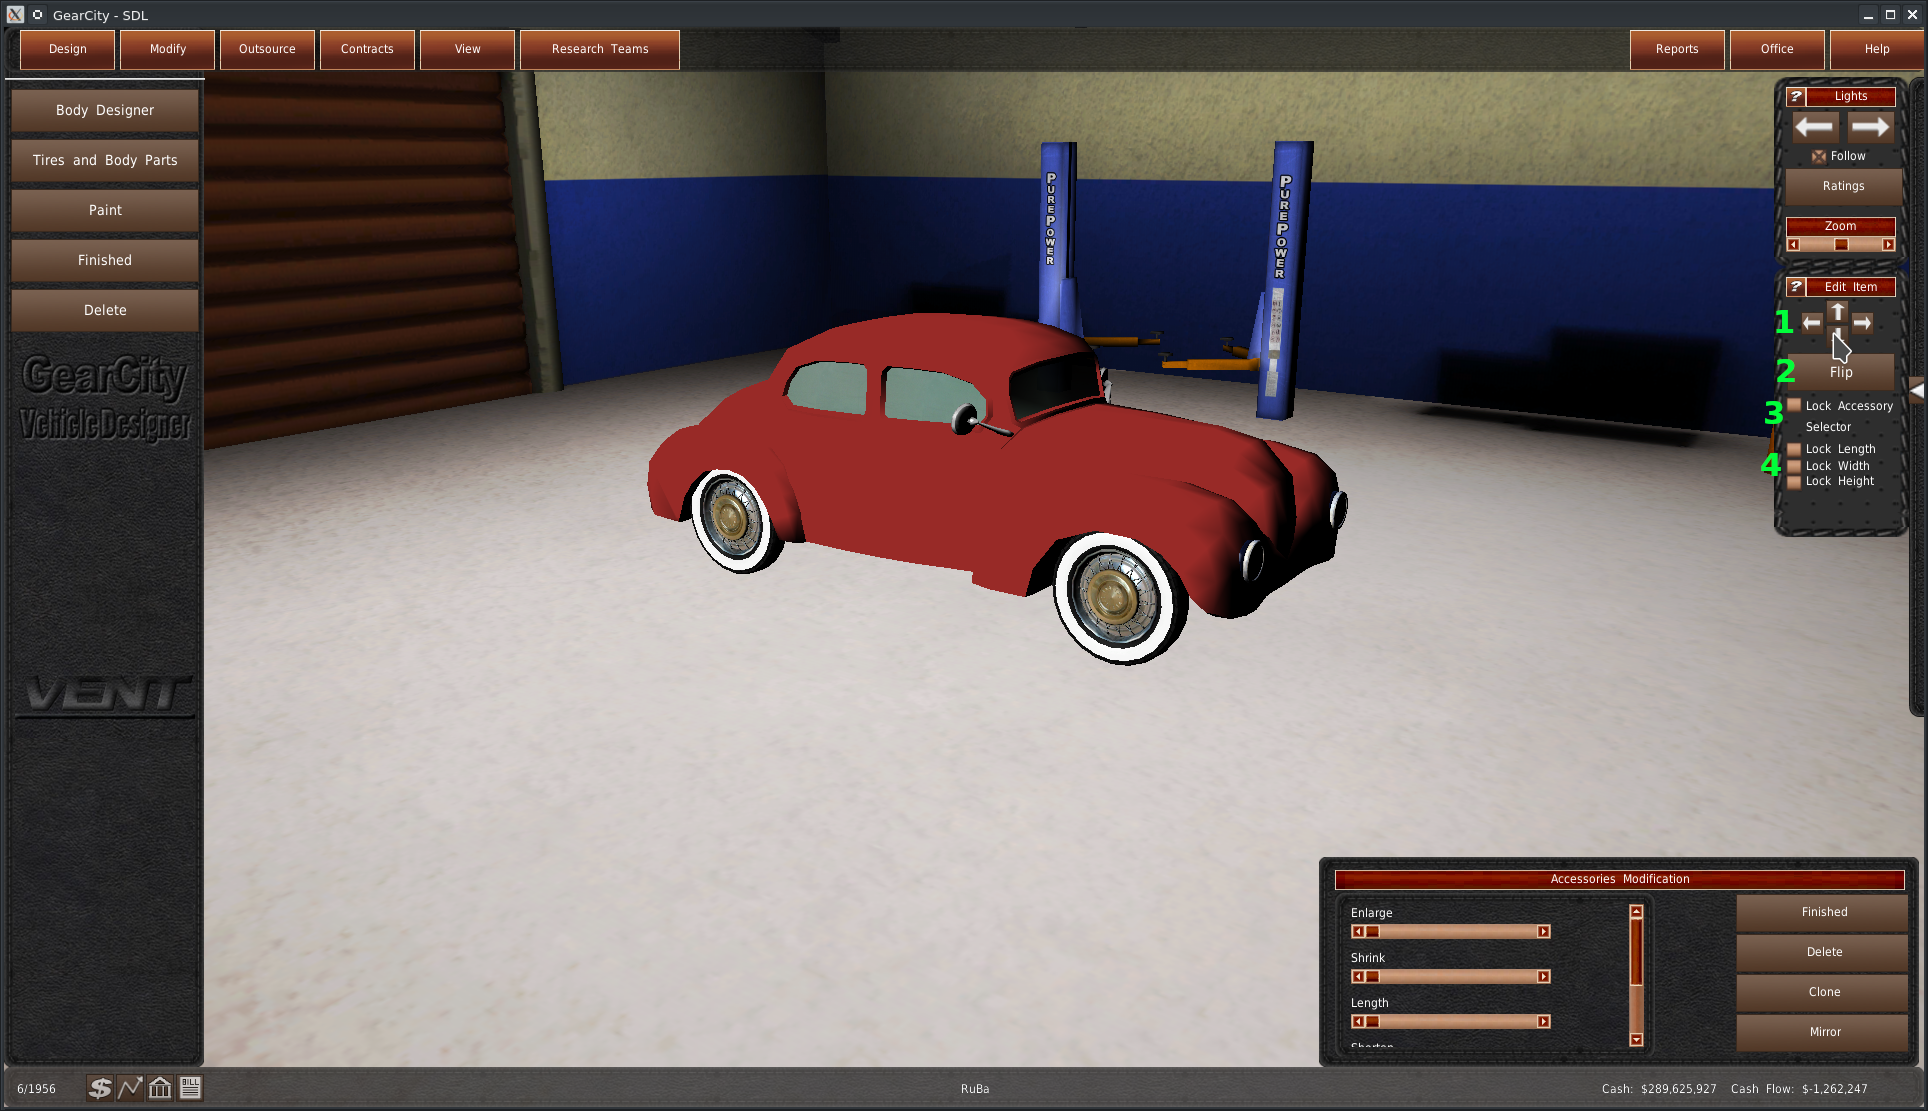
Besides moving a part by dragging it around on the car body, the designer also supports panning and tilting. Using the buttons with arrows on them (#1), you can pitch and yaw the selected part along the x and y-axis.
Below that is the Flip button (#2). This button will flip the selected part along the x-axis, similar to mirroring but without creating a duplicate part.
The “Lock Accessory Selector” checkbox (#3) will disable selecting another part in the designer while it is enabled. You will need to disable this checkbox to select another part.
The final three checkboxes (#4) lock part movements you can do with the mouse. When enabled, “Lock Length” will not allow you to move any part from front to back on the vehicle. “Lock Width” will not allow you to move any parts from side to side, and “Lock Height” will prevent you from moving any part from top to bottom. If you enable all three locks, you will not be able to move any part at all.
Save Design
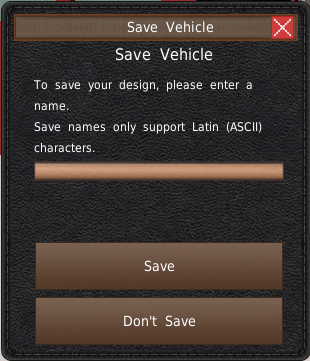
Upon clicking the finished button, the game will prompt you with a Save Vehicle popup window. This window is not for saving your vehicle in the game. It is for saving your vehicle design as an external file for future use. If you do not want to use this design again in the future, click “Don't Save.” If you want to use the design again in a different save game, enter the name of the design in the textbox and then click “Save.”
Load Design
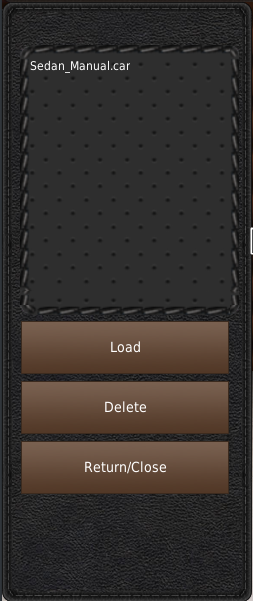
If you want to load a previously saved car design, you'll click the “Load Design” from the body selection menu. This will change the side panel to the load design panel. To load a design, select it from the list, then click “Load.” You may also “Delete” the selected design. Finally, the “Return/Close” button will return you to the body selection menu. Please note, the game will only display loadable designs that work for the game year and vehicle type you're on.