Table of Contents
ShameGuide for Making GearCity Car Bases/Bodies
by MediaevalRocket
Items Used
- Bforartist 1.0.0 or Blender 2.7.x – I use Bforartist
- Ogre Command Line Tools (Also included with GearCity)
- Most importantly GearCity
Installation
- Download and Install Bforartist or Blender
- Download Ogre Command Line Tools and install it. This includes Ogretoolsxmlconverter.exe and meshmagick.exe.
- Download blender2ogre 0.66
- Open Bforartist or Blender
Additional tutorials for setting up blender2ogre can be found here
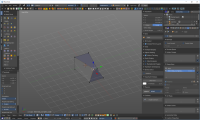
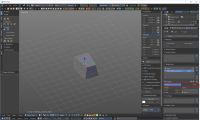
Shape Keying
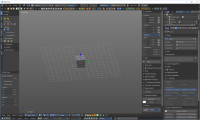
- Now repeat the shape keying process atleast two more times. Naming one ‘Entire Body_Complete_Width’ and ‘‘Entire Body_Complete_Height’. As their names imply one shape key should modify width and the other height. You can add other shape keys, but ‘Entire Body_Complete_Length’, ‘Entire Body_Complete_Width’ and ‘‘Entire Body_Complete_Height’ are the only ones required by the game to function.
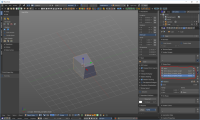
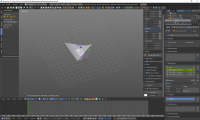
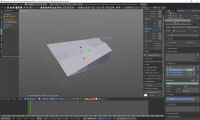
- Don’t forget to keep in mind the dimensions. According to the GearCity developer, Eric B., “You have to make sure your unit sizes in blender are setup so that 1Unit = 1CM, Or at least try to test out the size of your models in the game. As the physical dimensions of the vehicle is based on the mesh units.” Also, if your model is the wrong size you can scale it up. Just don’t forget to apply scale!
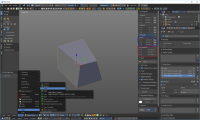
Here is a link to a very good shape keys tutorial found on YouTube: https://www.youtube.com/watch?v=OITWiN8Dplo
Animation
To put the 3D model into the game you must make a keyframe animation for each shape key.
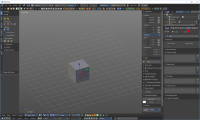
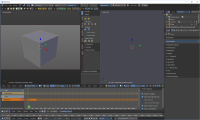
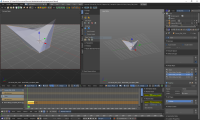
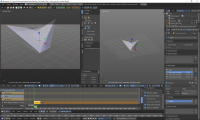
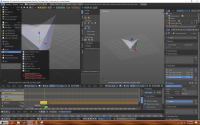
- To create a keyframe first go to the bottom of the screen and push the button shaped like keys. Then you must click on the tab next to it and a list will appear. Select LocRotScale. Make sure that you are at frame zero. Next, while hovering over the shape keys tab push on your keyboard the “I” key. Make sure that you are hovering over the shape keys tab or else it won’t register. This should cause the value slider for your selected shape key to turn yellow. You should also see a yellow mark in the timeline. This is your first key frame.
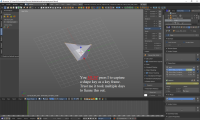
- Now return to default layout
Creating a Submesh
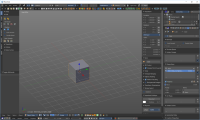
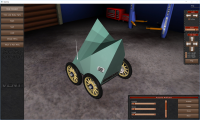
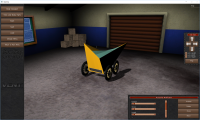
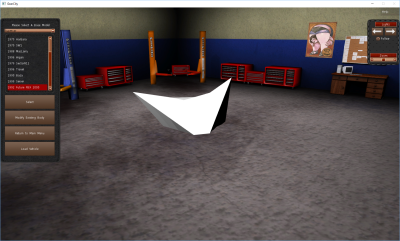
A submesh dictates what materials (shaders) can be used on your model in your game. Createing one is important because if you don’t your car base will be unpaintable in the game and stuck being white. Here’s an example:
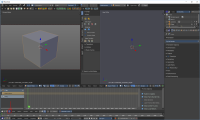
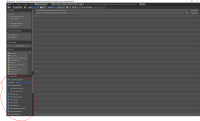
- First go into materials and create a material, as seen in the picture below. Now rename it. According to Steam user mrx_ua, “[The possible names for a submesh in the game are] ’All’ (lets you use any shader), ‘Body’, ‘Glass’, ‘Leather’, [and] ‘Metal.’” As you may assume these names dictate what kind of materials, aka. paints or shaders, can be used on your model. However, the use of ‘All’ should be avoided because it may cause strange graphical issues in-game.
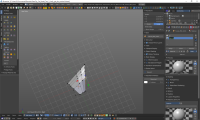
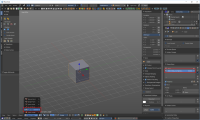
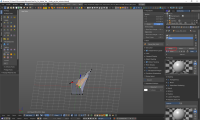
- As seen in the picture above you can create multiple submeshes, in most 3D programs they are called materials. If you have only one submesh your car base will be only one material or shader. If you create more submeshes you can have other materials or shaders on your car base. As seen in the picture bellow, for this to work properly you will need to go into edit mode and select the areas of your mesh that are you desire to be your selected material. Then press the assign in the materials tab.
Exporting
- You should now get a bunch of files in the directory that you selected related to your model. The important one has the file extension “.mesh”.
Putting the Mesh into the Game
Creating a Mod With A Custom Components.XML File
For more details on the Components Editor.
Testing
If the game didn’t instantly crash on you when you selected your car base, the custom model was successfully imported.
Troubleshooting
If you select your car base and the game crashes, you may get an ID-10T error. If this happens please open the game again and put more 710 fluid in your car this time.
Just joking more than likely you forgot a step, but a lot of mechanics and tech support operators probably just cringed at my bad joke, sorry.
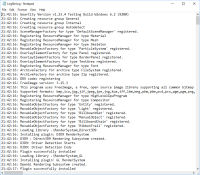
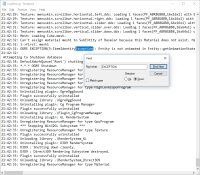
To find out what went wrong find Logfile.log.
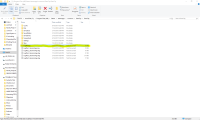
There is a high chance you forgot to do an Animation. Go back Blender or Bforartist and create the key frame animation you forgot. If this doesn’t solve your problem create a new discussion on Steam Discussions. Eric is the creator/developer of GearCity and he will help you.

