This is an old revision of the document!
Table of Contents
Creating A Vehicle Body
Because of budget limitations, the Body Designer in GearCity is a bit cumbersome. We recommend you use the predesigned vehicle bodies included in the game. But if you want to know how to create your own vehicle bodies, continue reading this chapter.
Opening Body Designer
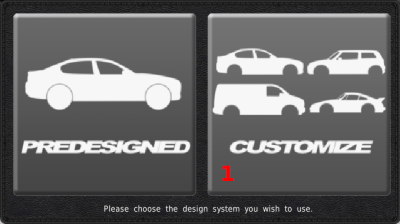
When you go to create a vehicle body, the game will prompt you with this selection window. We recommend using a Premade design, but if you want to create your own body, you'll need to click the Custom Button (#1).
Body Selector
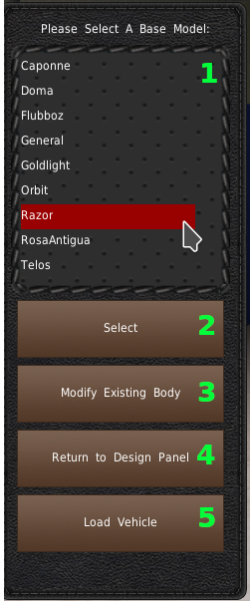
The first section of the body designer is the body selection panel. The panel is attached to the left of the screen. You'll find a list of vehicle bodies at the top (#1). Selecting a vehicle from this list will display the body in the center of the window.
If you have found the base body design you wish to use, you'll need to click the “Select” button (#2) to continue. If you have already created your design and want to modify it, you would use the “Modify Existing Body” button (#3), or if you wish to return back to the Vehicle Design windows, you can click the “Return to Design Panel” button (#4). If either of these is the case, whatever you do, do not click a design from the list (#1). Otherwise, the game will erase your previous design.
Finally, if you previously made a custom design and want to load it, you can do it with the “Load Vehicle” (#5). See the Load Vehicle section for more details. 
Designer Menu And Light Panel
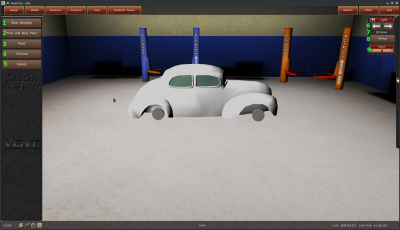
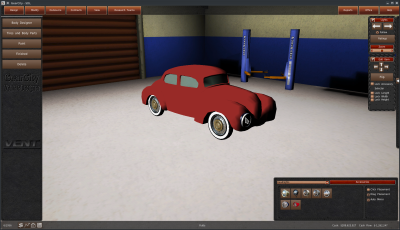
The game will show you the Design and Light Menu upon selecting a base body from the list and clicking the “Select” button.
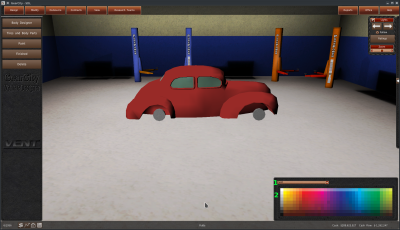
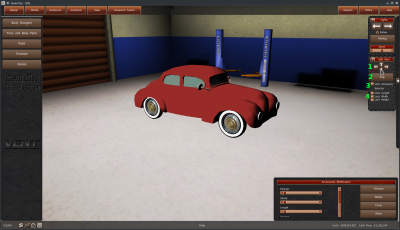
On the left side of the screen is the Designer Menu. This menu allows you to switch between the three different body design tools. You can also complete the design or delete the design.
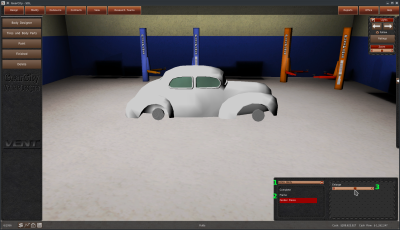
- Body Designer ⇒ This tool allows you to adjust the base model's shape using a series of morph animations.

