
This is an old revision of the document!
Table of Contents
ギアシティの車体ベース/ボディ作成ガイド
by MediaevalRocket
使用したもの
- Bforartist 1.0.0またはBlender 2.7.x – 私はBforartistを使用
- Ogre Command Line Tools (GearCityにも同梱)
- 最も重要なのは GearCity
インストール
- Bforartist または Blender をダウンロードしてインストールします。
- Ogre コマンドラインツールをダウンロードしてインストールします。これには Ogretoolsxmlconverter.exe と meshmagick.exe が含まれます。
- blender2ogre 0.66 をダウンロードします。
- blender2ogre を Bforartist の /scripts/addons フォルダに解凍します。

- Bforartist または Blender を開きます
- 設定を開きます

- Ogreを検索してチェックボックスをクリックします

- 次に、Bforartistツールバーの上部にあるOgre UIを切り替えます。

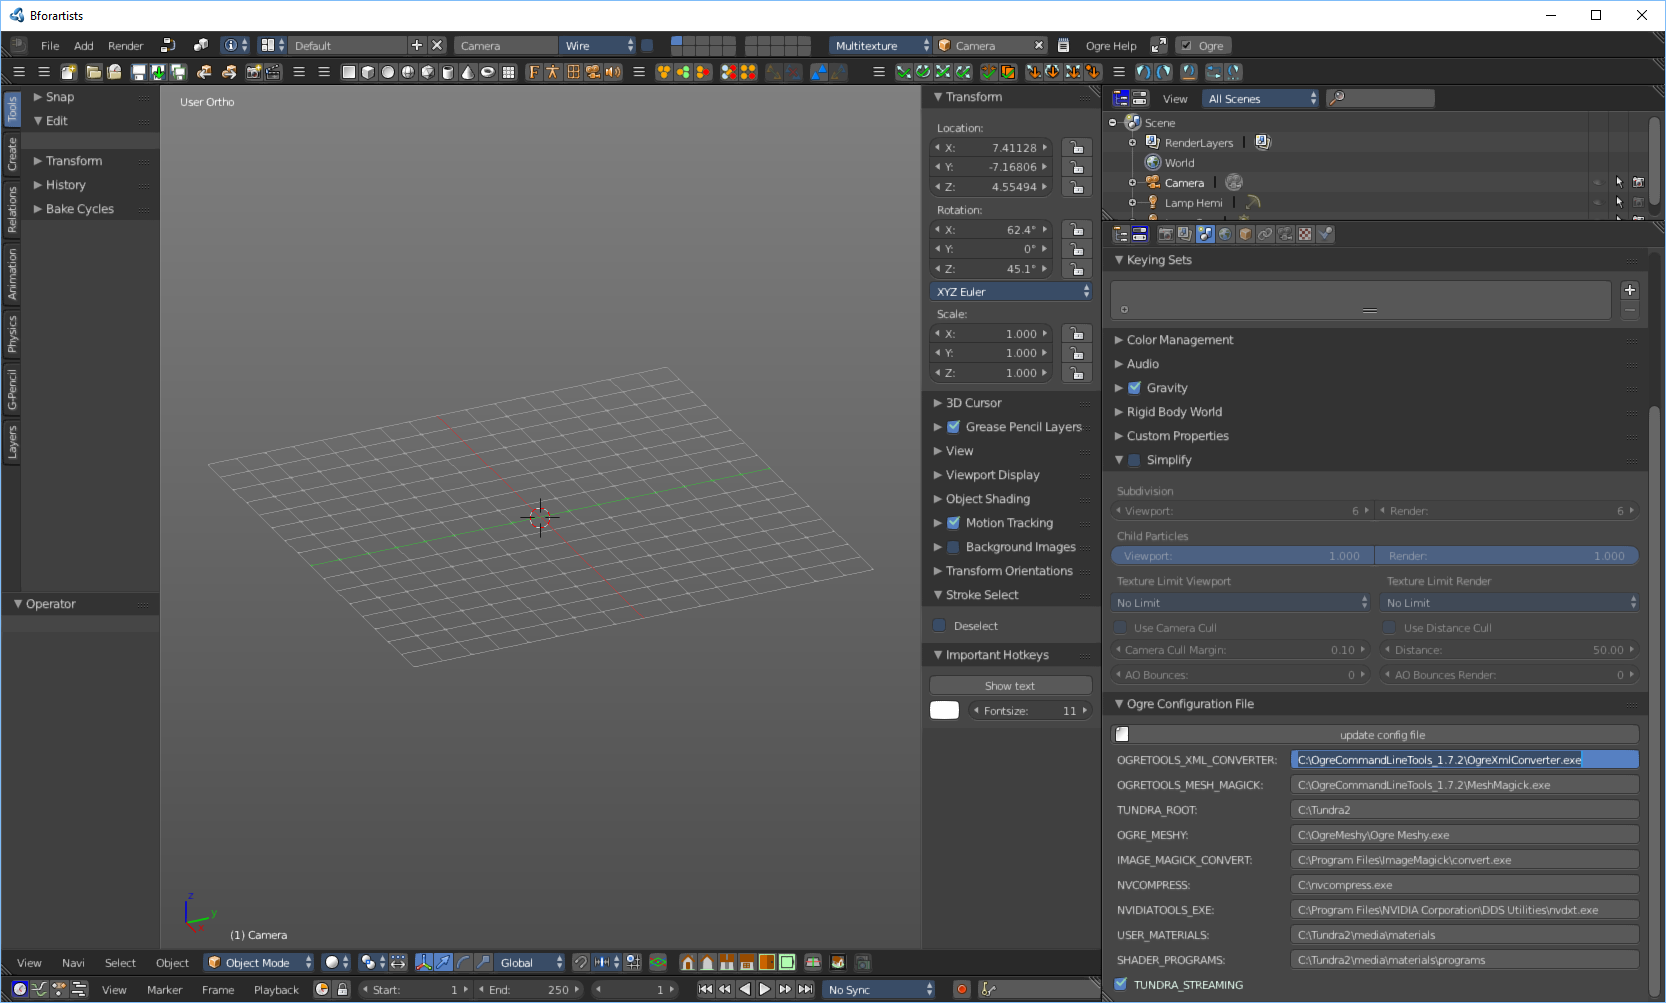
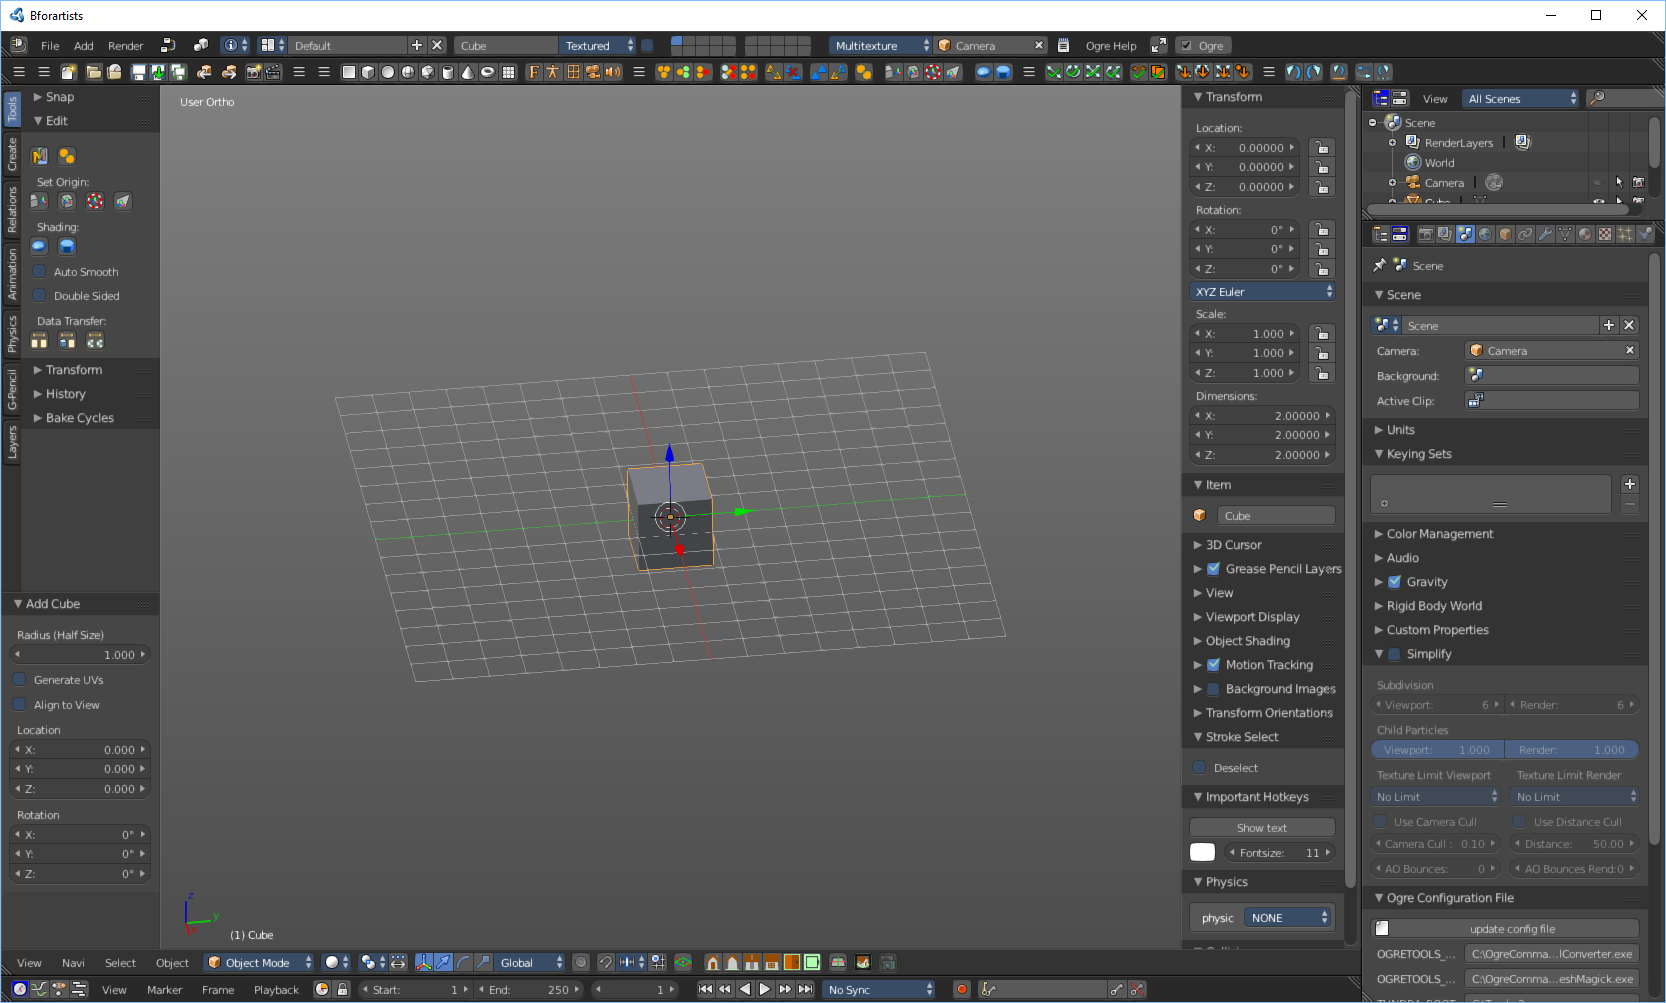
- シーンに移動し、「Ogre Config File」までスクロールして、OgretoolsXmlConverter.exe と meshmagick.exe の場所を入力します

- 次に、設定ファイルを更新します


Blender2ogre の設定に関する追加チュートリアルは こちらをご覧ください。
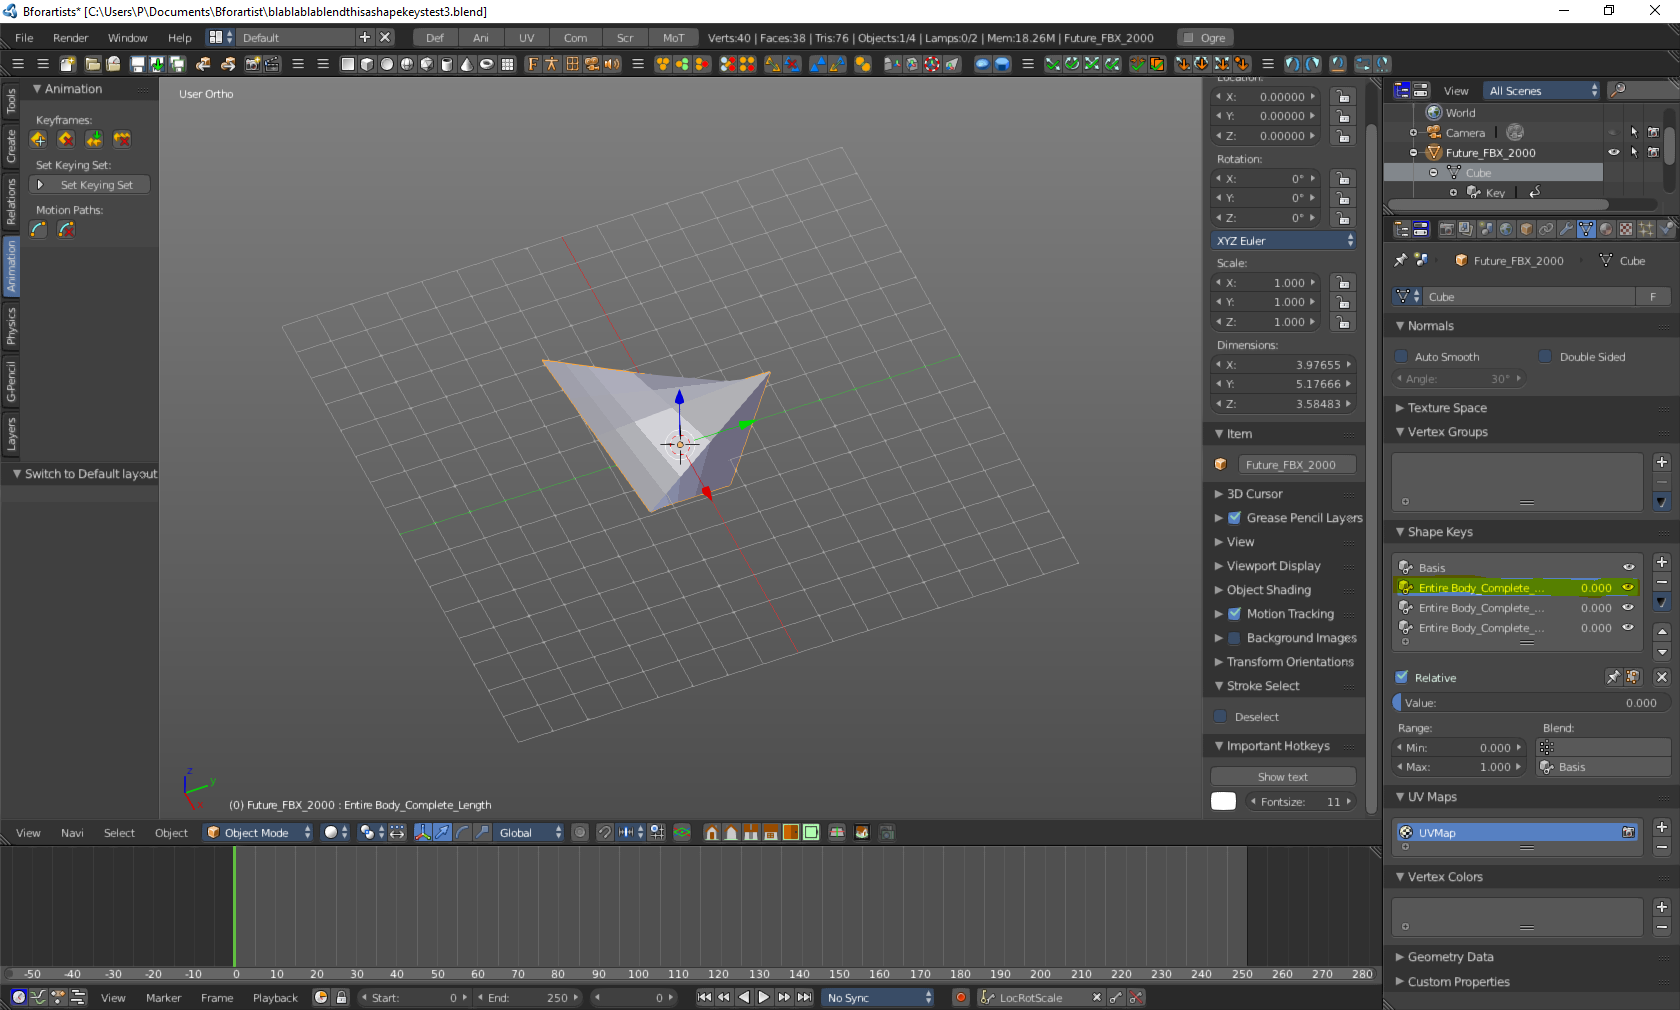
シェイプキーイング
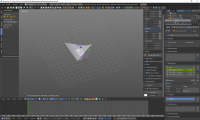
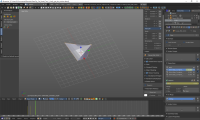
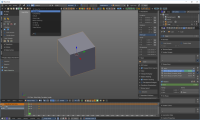
- まず、3D オブジェクトを作成またはインポートし、ピボットポイントをモデルの下部中央に設定する必要があります。これにより、ゲーム内で車両のベースにミラーリングされたオブジェクトがどのように表示されるかが決まります。
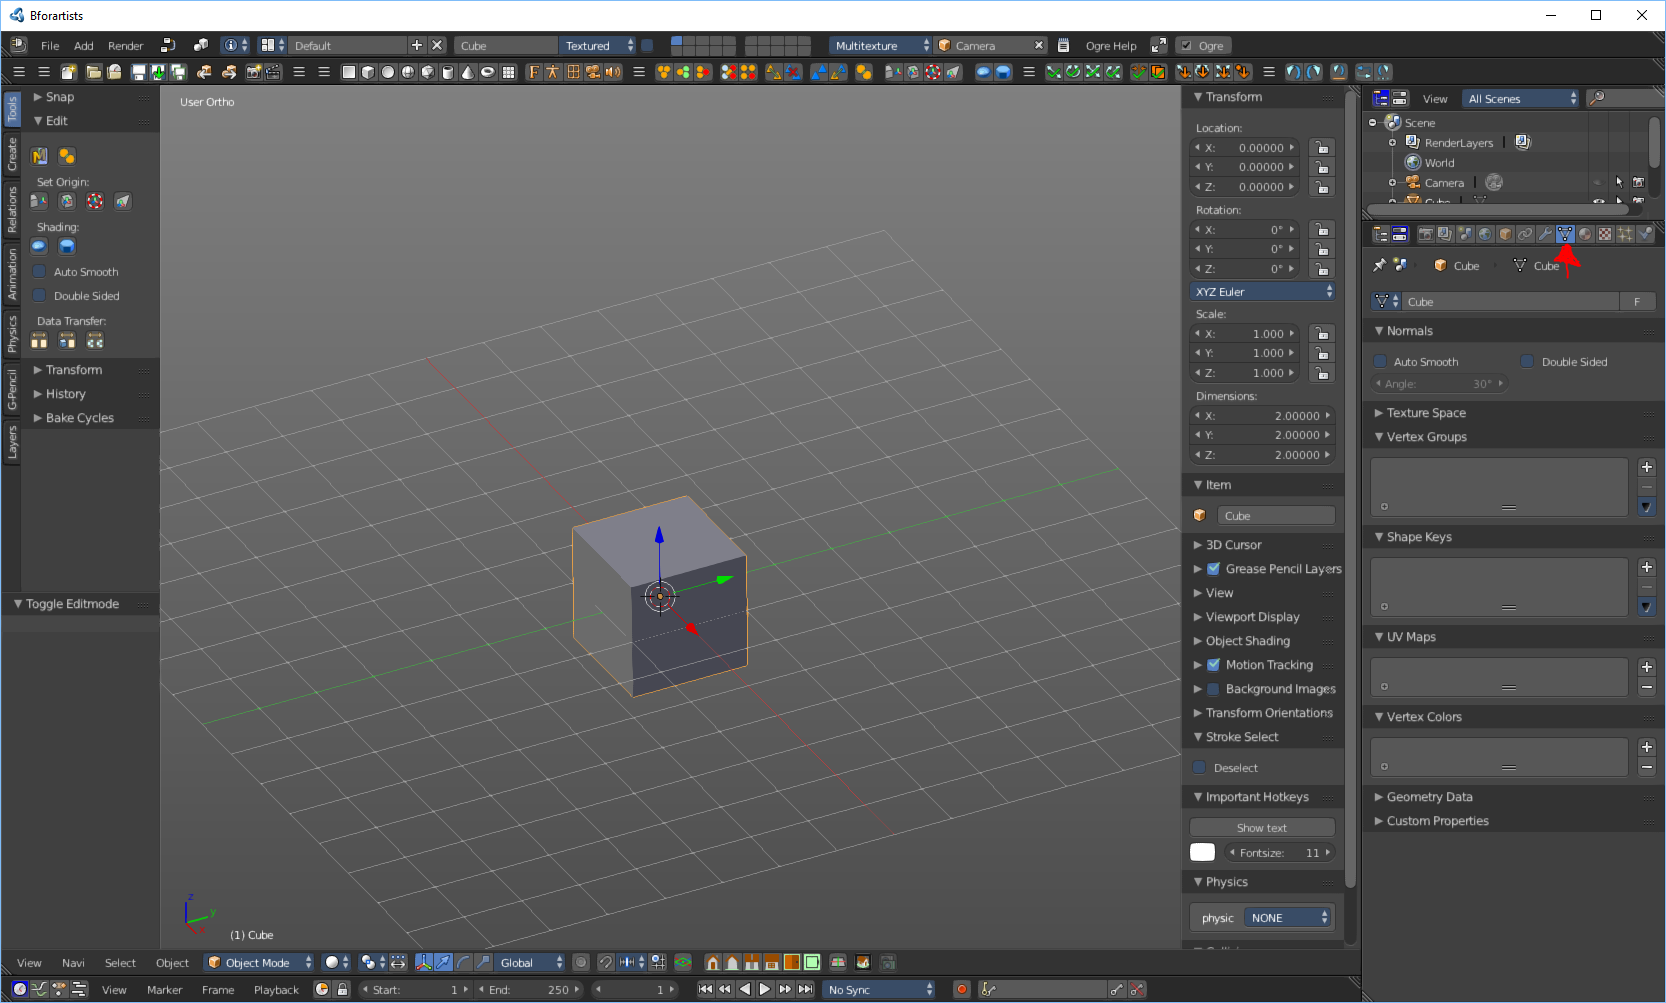
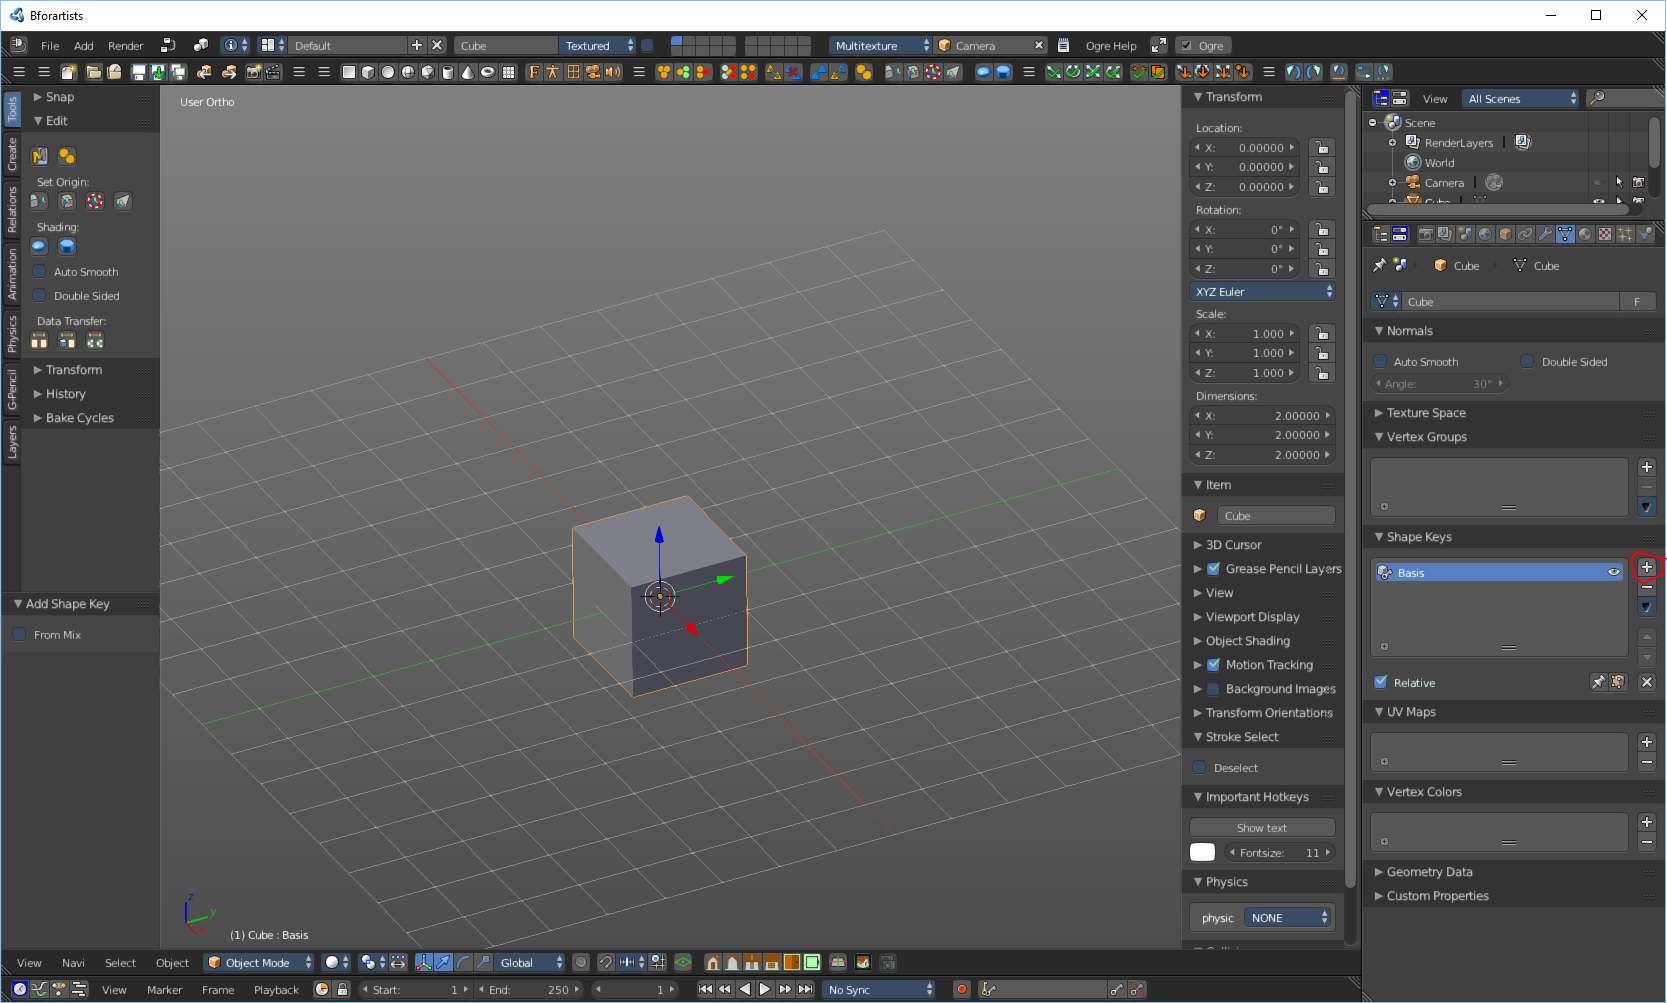
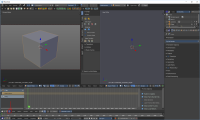
- 次に、「データオブジェクト」タブをクリックします
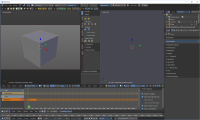
- シェイプキーまでスクロールして「+」を押します。
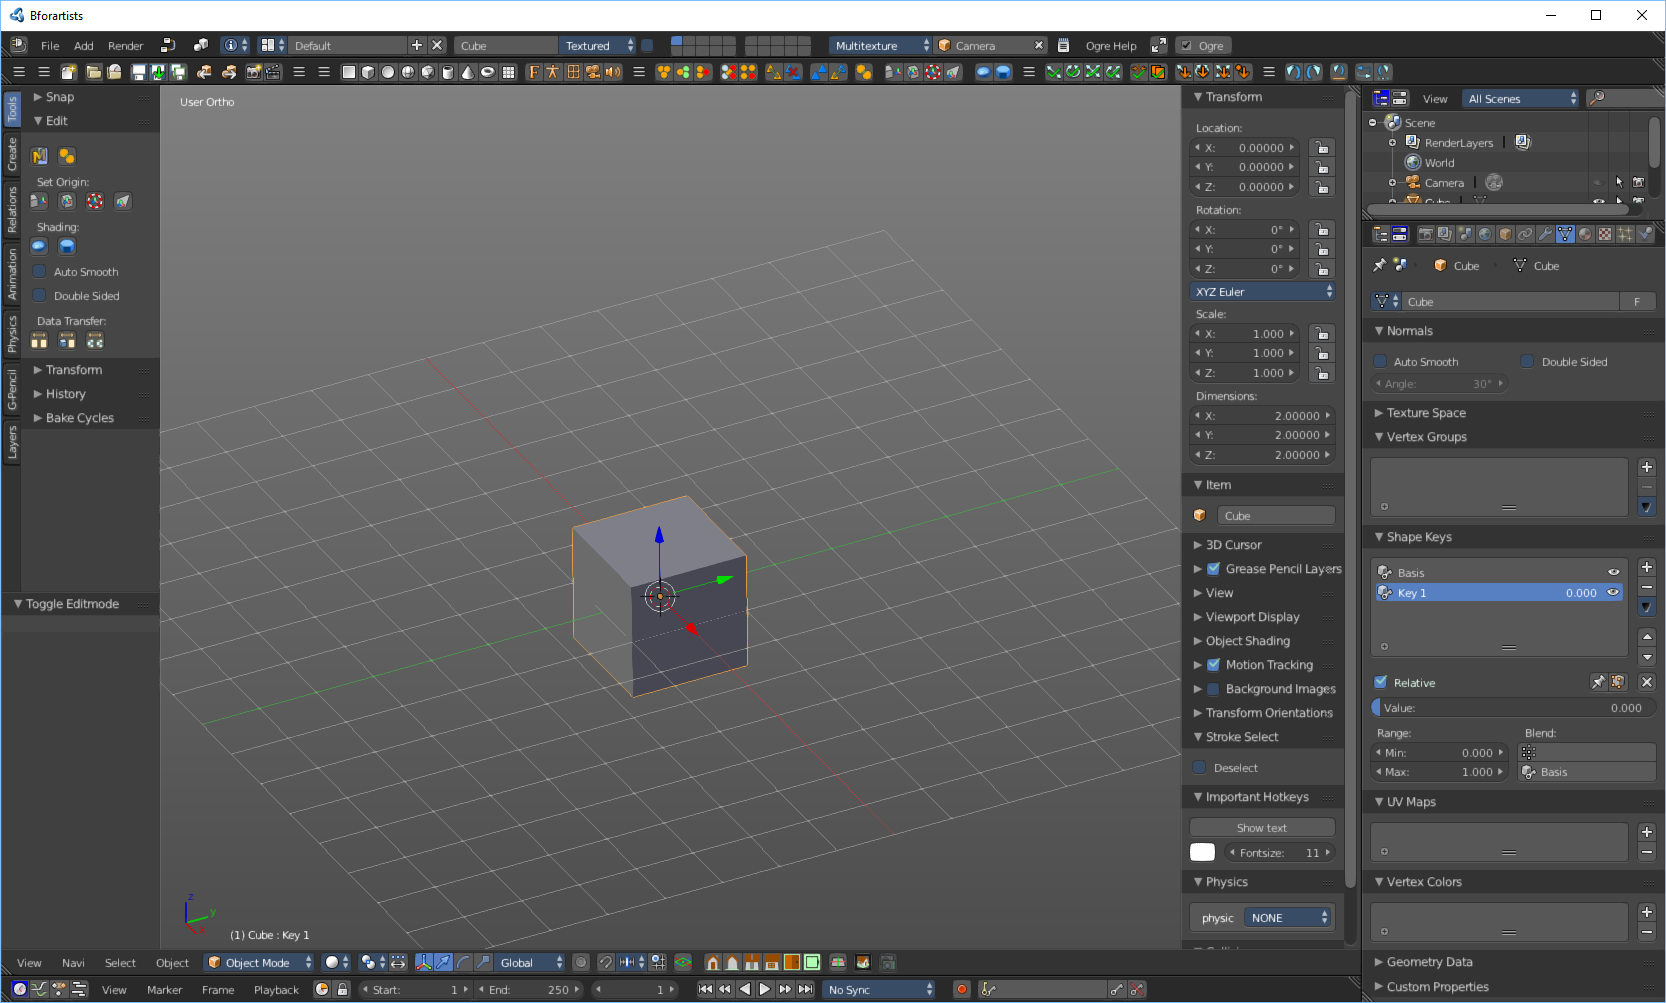
- もう一度「+」を押すと、最初のシェイプキーが作成されます。
- シェイプキーの名前を「ボディ全体の長さEntire Body_Complete_Length」に変更します(引用符は含めないでください)
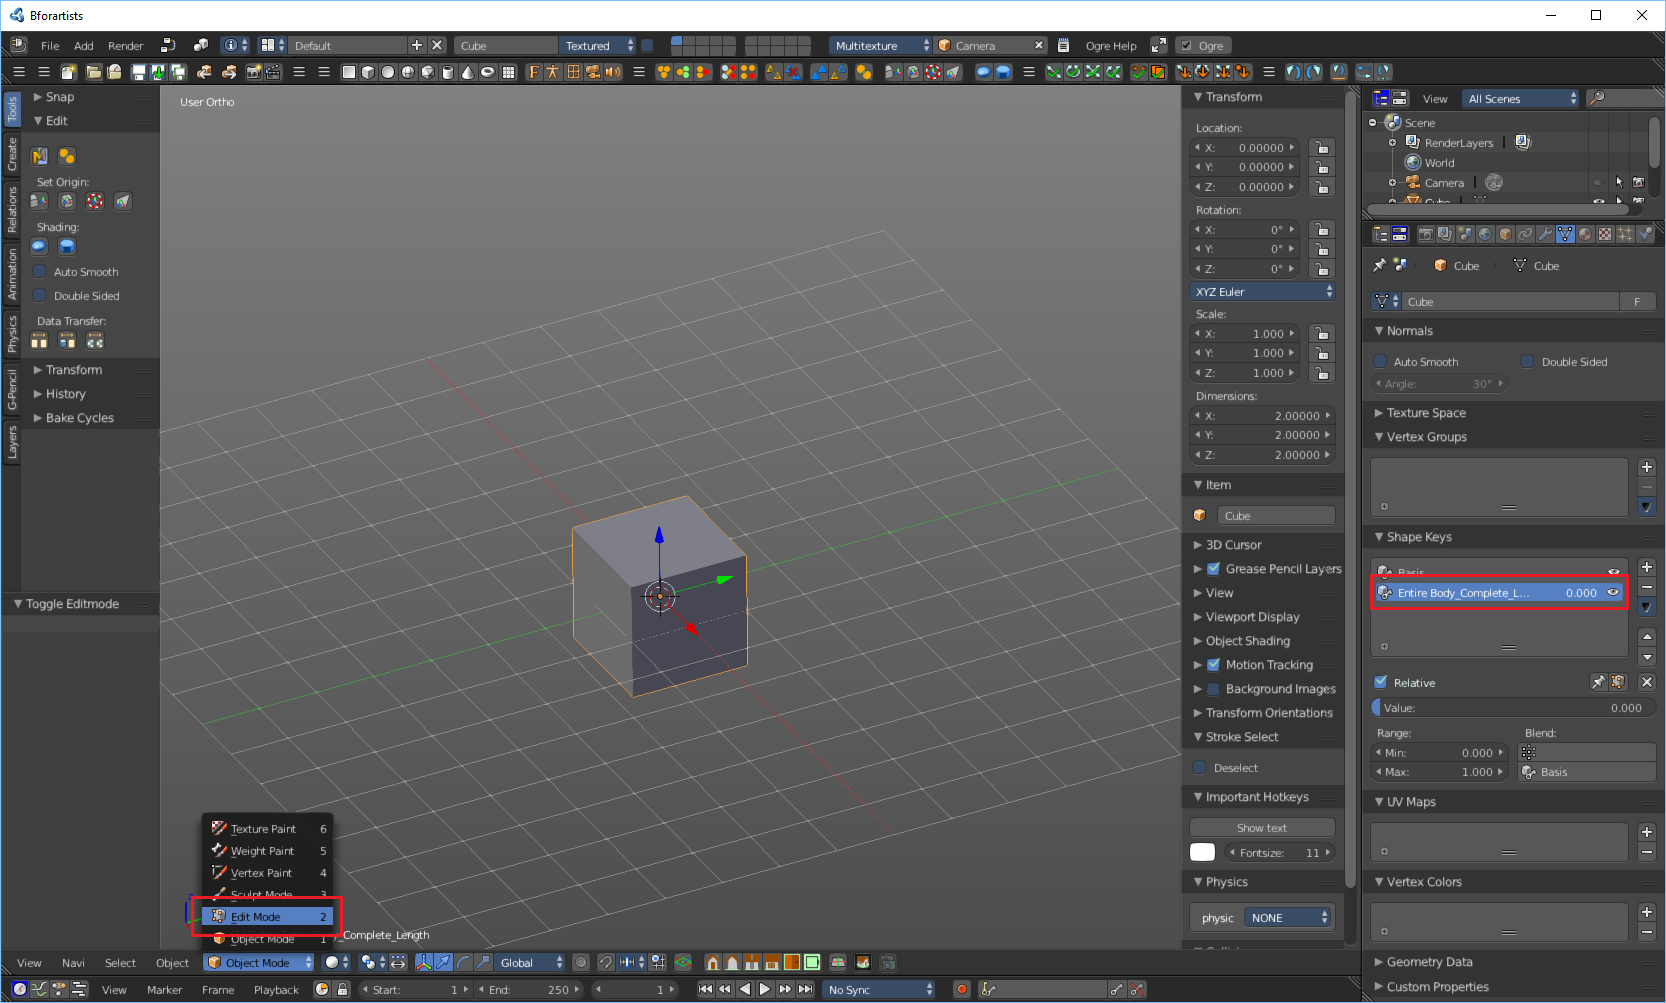
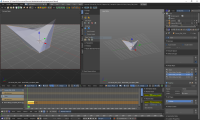
- シェイプキーが選択されたまま、編集モードに切り替えます。

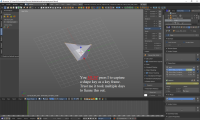
- 3Dオブジェクトを好きなだけ変更します(このシェイプキーは「ボディ全体の長さEntire Body_Complete_Length」は、少なくとももっと長くするようにしてください)
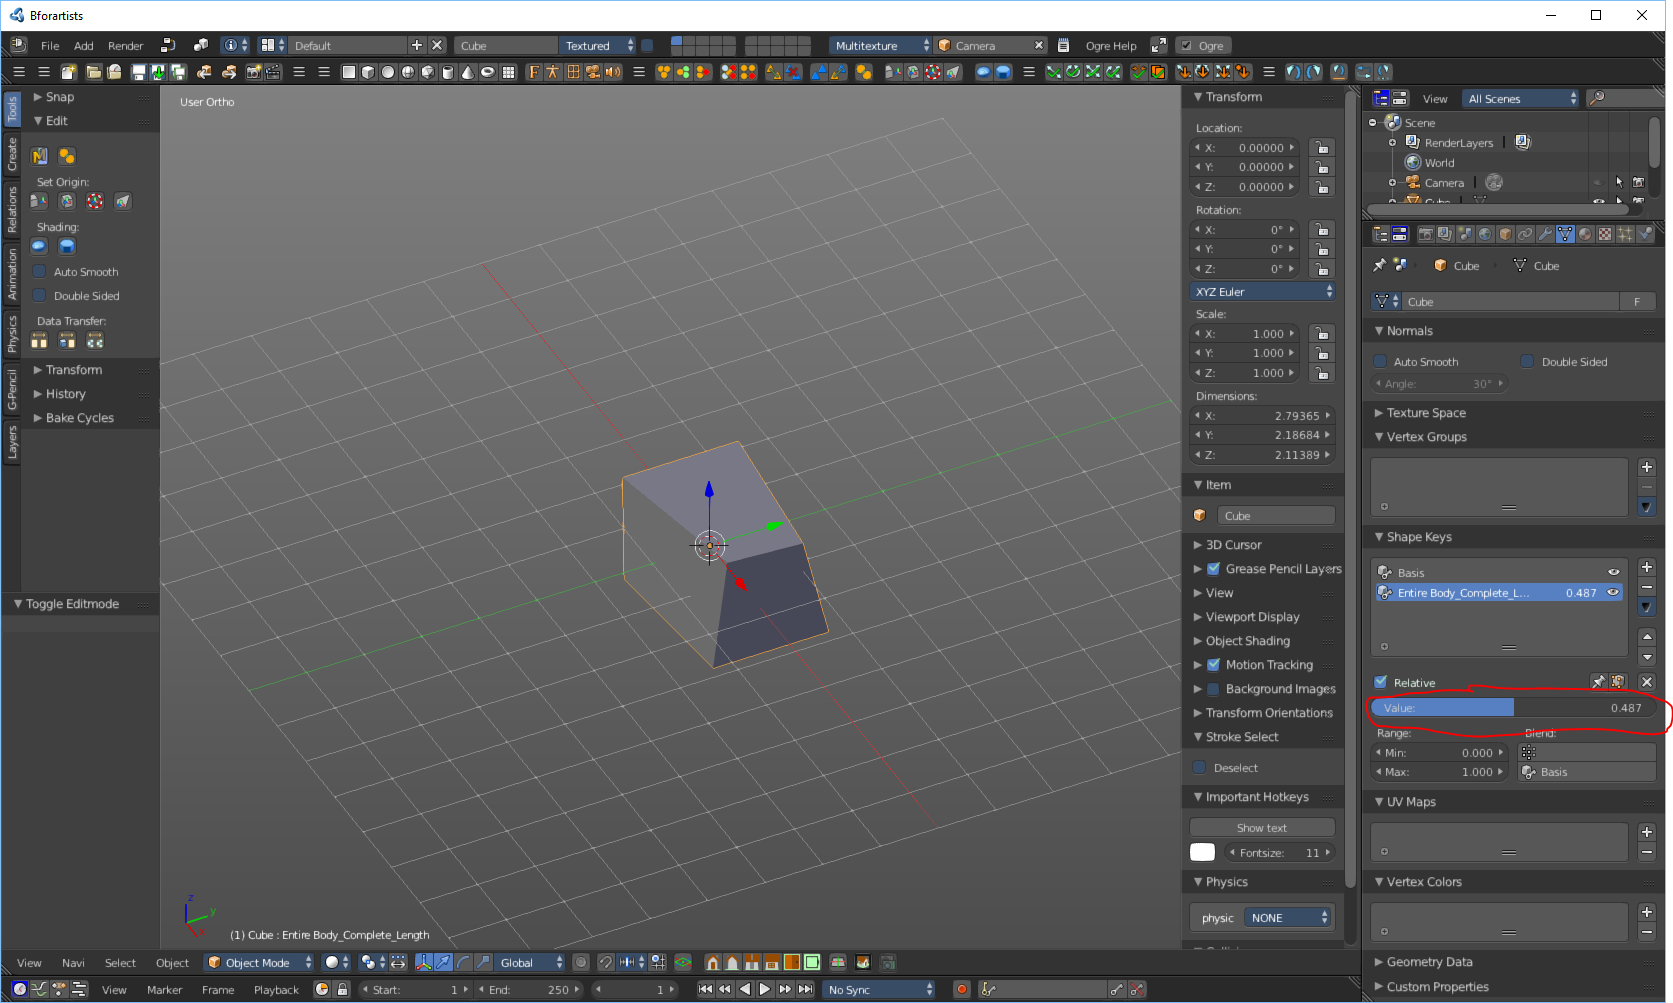
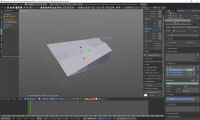
- オブジェクトモードに戻り、値スライダーを上下に動かします。ご覧のとおり、オブジェクトは編集モードで作成したものへと変化しています。コンピュータグラフィックスではこれを「モーフィング」と呼び、これらのシェイプキーモデルは「モーフ」と呼ばれることもあります。
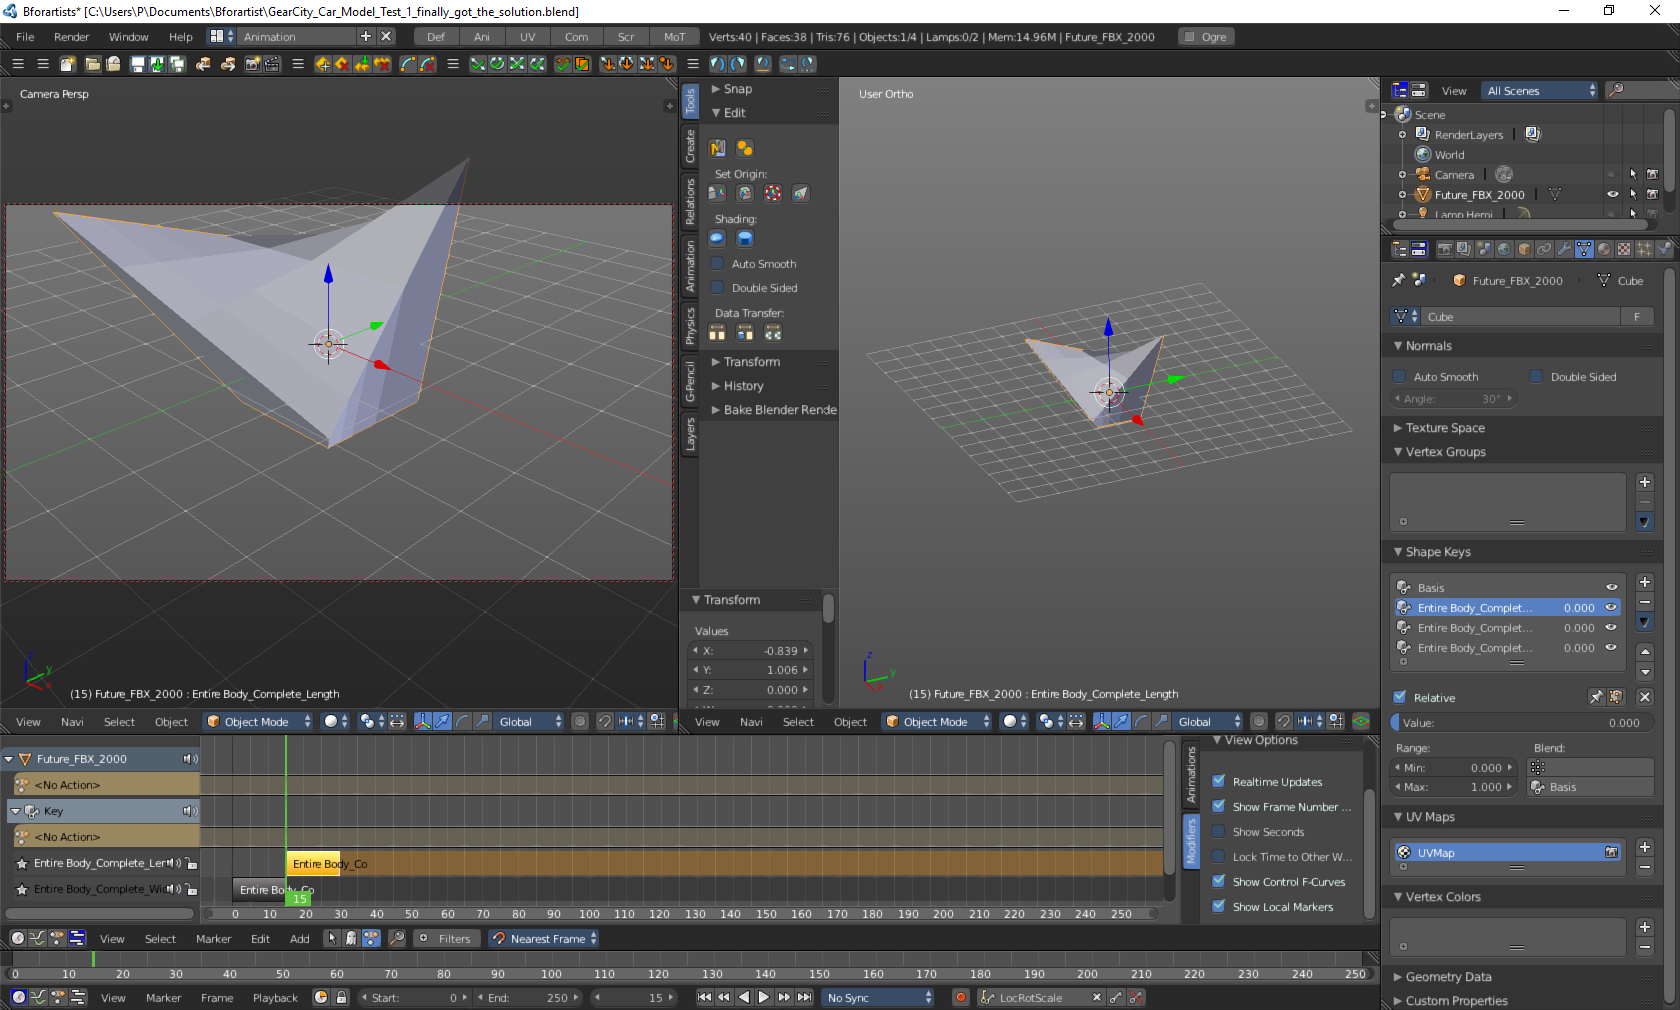
- シェイプキー処理を少なくともあと2回繰り返します。1つには「ボディ全体の幅Entire Body_Complete_Width」、もう1つには「ボディ全体の高さEntire Body_Complete_Height」という名前を付けます。名前の通り、一方のシェイプキーで幅を変更し、もう一方のシェイプキーで高さを変更します。他のシェイプキーを追加することもできますが、ゲームの動作に必要なのは「ボディ全体の長さEntire Body_Complete_Length」、「ボディ全体の幅Entire Body_Complete_Width」、「ボディ全体の高さEntire Body_Complete_Height」のみです。
- 寸法を忘れずに覚えておきましょう。GearCity の開発者である Eric B. 氏によると、「Blender のユニットサイズが 1Unit = 1CM になるように設定されていることを確認してください。少なくとも、ゲーム内でモデルのサイズをテストしてみてください。車両の物理的な寸法はメッシュユニットに基づいています。」とのことです。また、モデルのサイズが適切でない場合は、拡大縮小することができます。スケールを適用することを忘れないでください!


YouTubeで見つけた、非常に分かりやすいシェイプキーのチュートリアルへのリンクです: https://www.youtube.com/watch?v=OITWiN8Dplo
アニメーション
3Dモデルをゲームに組み込むには、各シェイプキーにキーフレームアニメーションを作成する必要があります。
- 画面下部に移動し、下部の2つのツールバーの間にカーソルを置きます。ドラッグアイコンが表示されたら、上に引き上げます。タイムラインが表示されるはずです。次に、目的のシェイプキーを選択します。
- キーフレームを作成するには、まず画面下部にあるキーの形をしたボタンを押します。次に、その横にあるタブをクリックするとリストが表示されます。「LocRotScale」を選択します。フレームが0であることを確認してください。次に、シェイプキータブにマウスを合わせた状態でキーボードの「I」キーを押します。シェイプキータブにマウスを合わせていないとキーが認識されません。これにより、選択したシェイプキーの値スライダーが黄色に変わります。タイムラインにも黄色のマークが表示されます。これが最初のキーフレームです。
- 次にフレーム5に移動し、値スライダーを100まで上げて、もう一度「I」キーを押します。
- フレーム15でも同じ操作を行いますが、値スライダーを0に戻します。シェイプキータブにマウスポインターを置いていることを確認してください。
- アニメーションレイアウトに切り替えます
- アニメーションレイアウトに入ったら、NLEボタンをクリックします
- 下矢印ボタンを押します
- アニメーションの名前を変更します
- その後、アニメーションレイアウトを並べ替え、アニメーションを NLE (Nonlinear Editor) で編集して、注文どおりに表示されるようにします。

- デフォルトのレイアウトに戻します


サブメッシュの作成
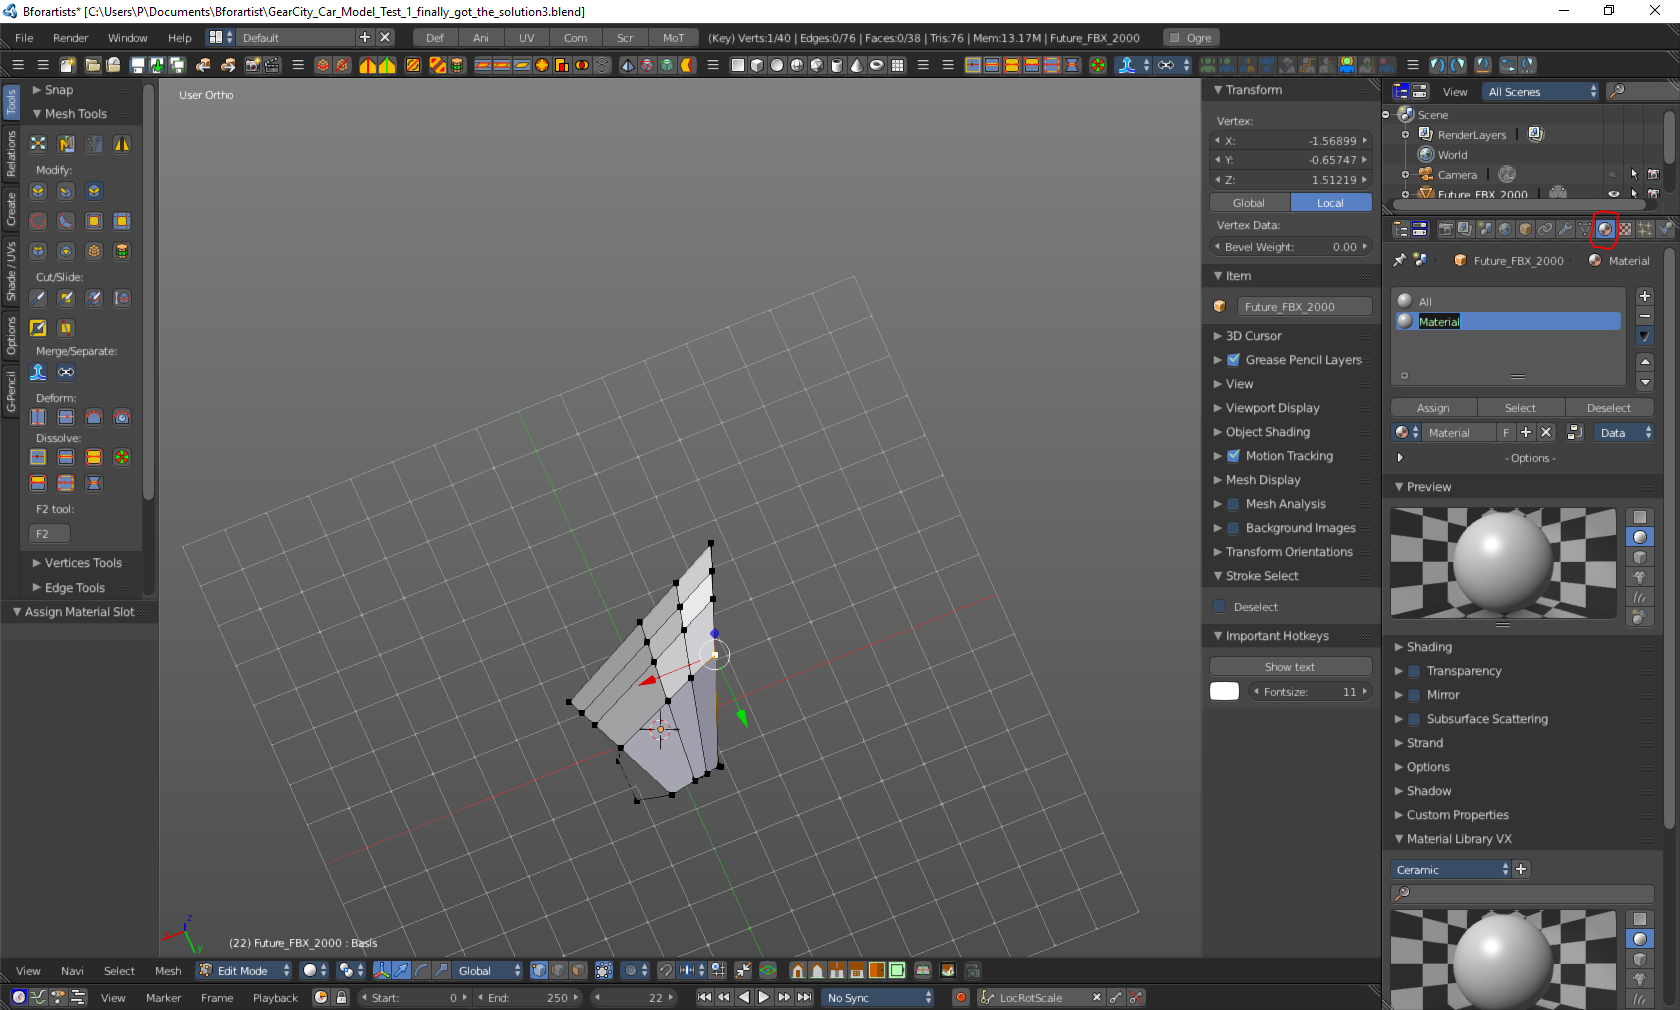
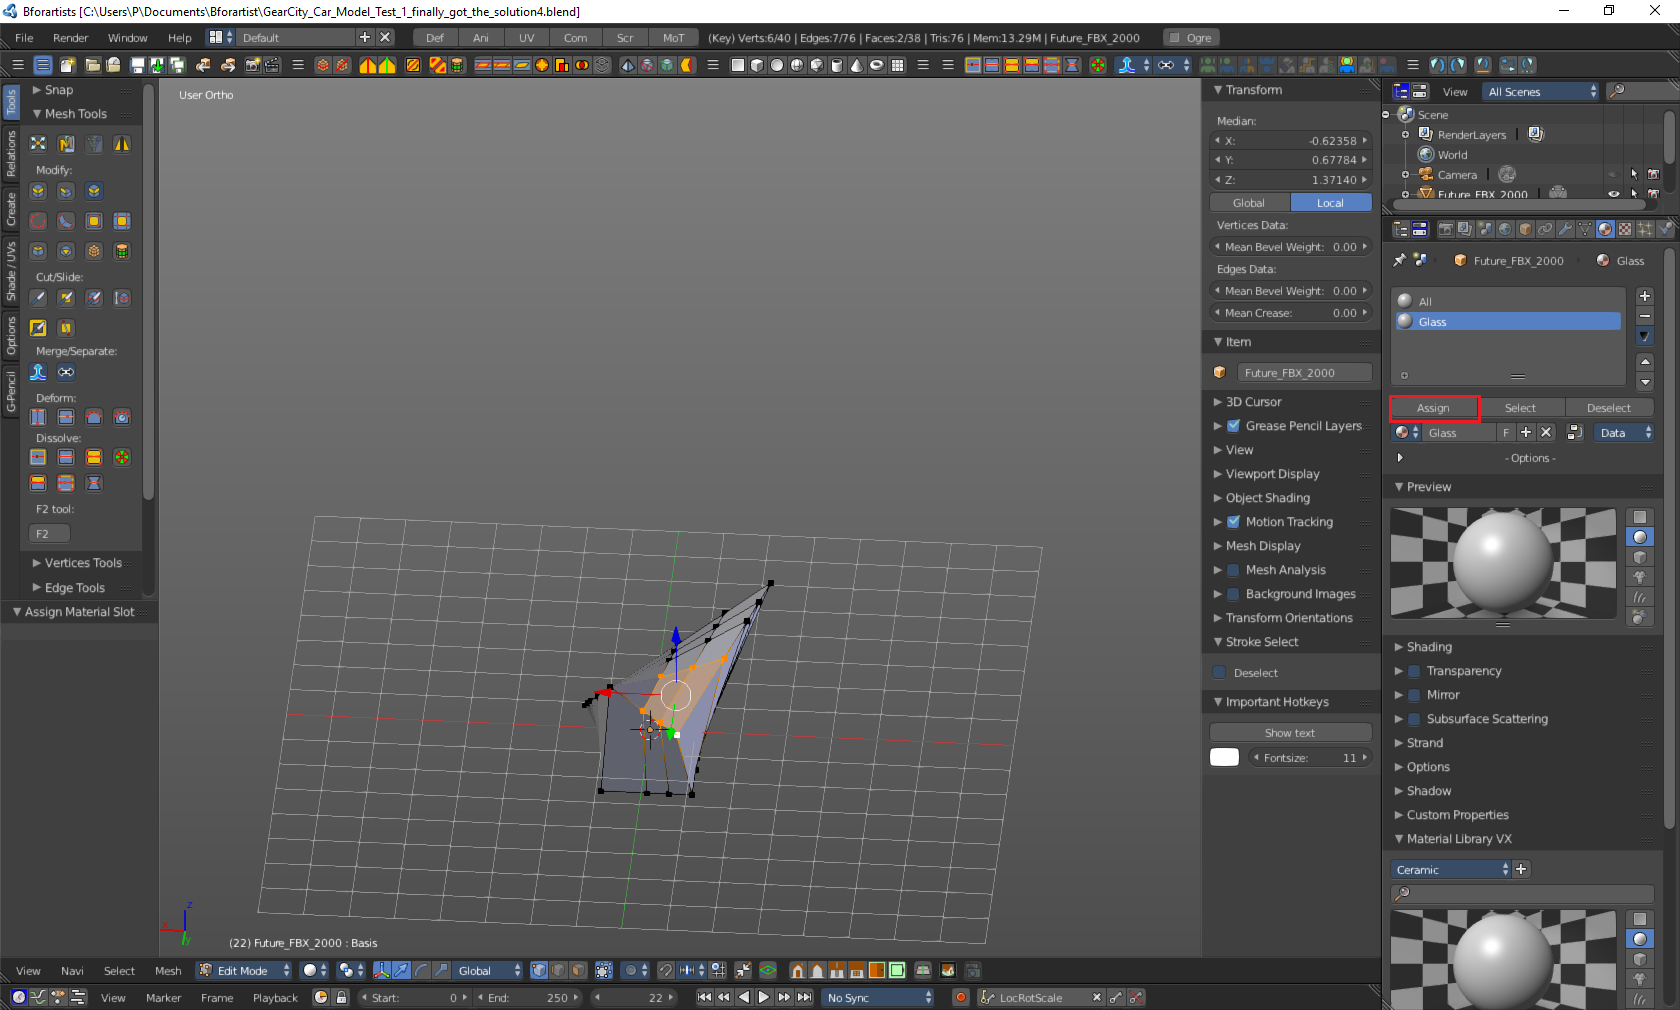
サブメッシュは、ゲーム内でモデルに使用できるマテリアル(シェーダー)を指定します。サブメッシュを作成しないと、ゲーム内で車のベースがペイントできず、白のままになってしまうため、作成は重要です。例を以下に示します:
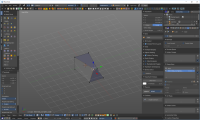
- First go into materials and create a material, as seen in the picture below. Now rename it. According to Steam user mrx_ua, “[The possible names for a submesh in the game are] ’All’ (lets you use any shader), ‘Body’, ‘Glass’, ‘Leather’, [and] ‘Metal.’” As you may assume these names dictate what kind of materials, aka. paints or shaders, can be used on your model. However, the use of ‘All’ should be avoided because it may cause strange graphical issues in-game.
- As seen in the picture above you can create multiple submeshes, in most 3D programs they are called materials. If you have only one submesh your car base will be only one material or shader. If you create more submeshes you can have other materials or shaders on your car base. As seen in the picture bellow, for this to work properly you will need to go into edit mode and select the areas of your mesh that are you desire to be your selected material. Then press the assign in the materials tab.

Exporting
- Go into the “File” tab on the top-most Bforartist tool bar and find “Export”. In “Export” select Ogre3D.
- Now a new window will appear. In the left corner there is export settings look at these to see if there are anything that needs changed.
- Now make sure that you are in the directory/folder that you want to export the model to and have the correct name for the file. Now push the “Export Ogre” button.
- You should now get a bunch of files in the directory that you selected related to your model. The important one has the file extension “.mesh”.


Putting the Mesh into the Game
Creating a Mod With A Custom Components.XML File
For more details on the Components Editor.
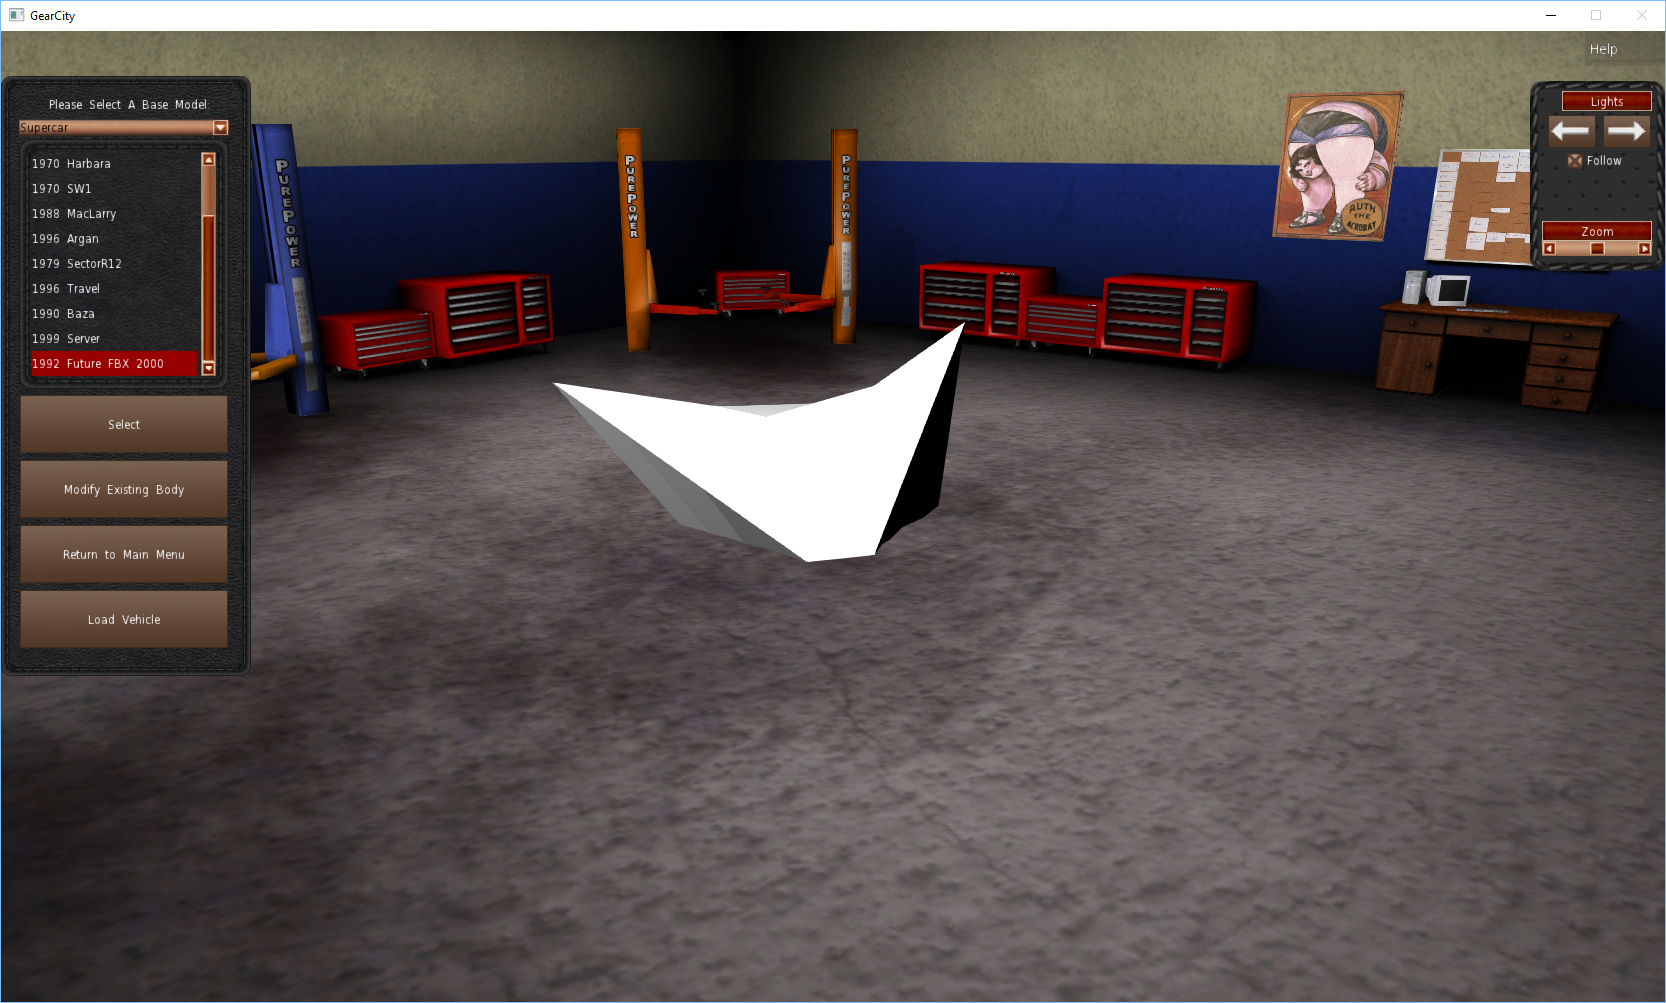
Testing
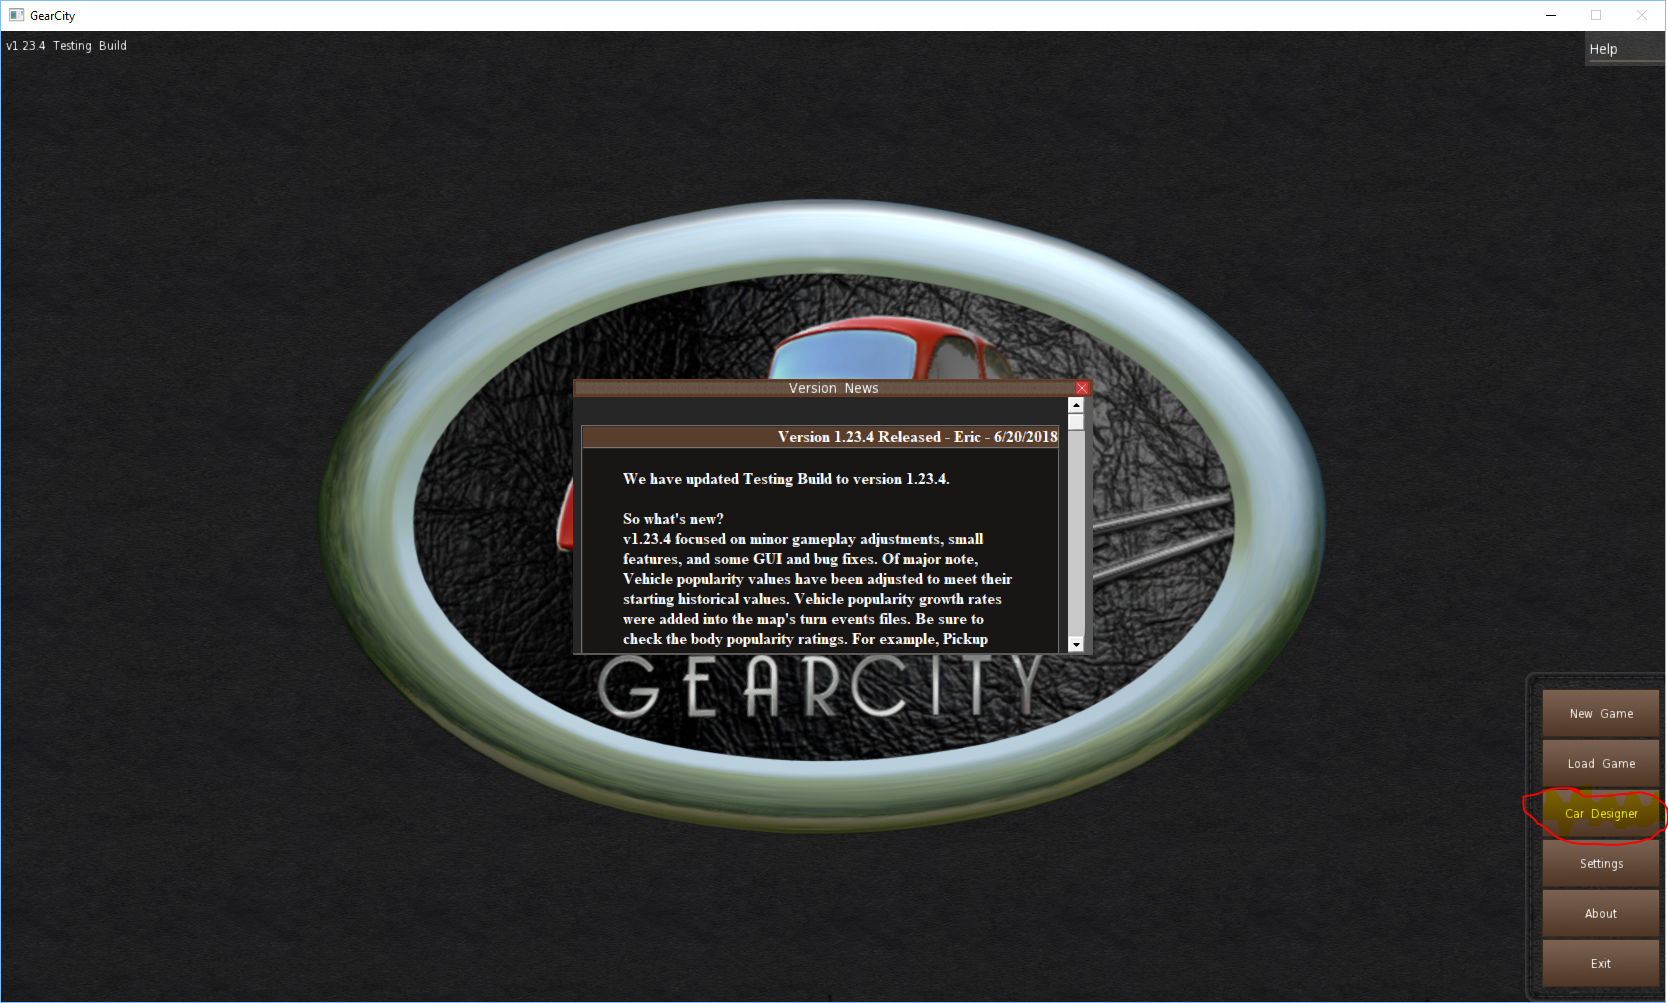
- Open GearCity and go into Car Designer
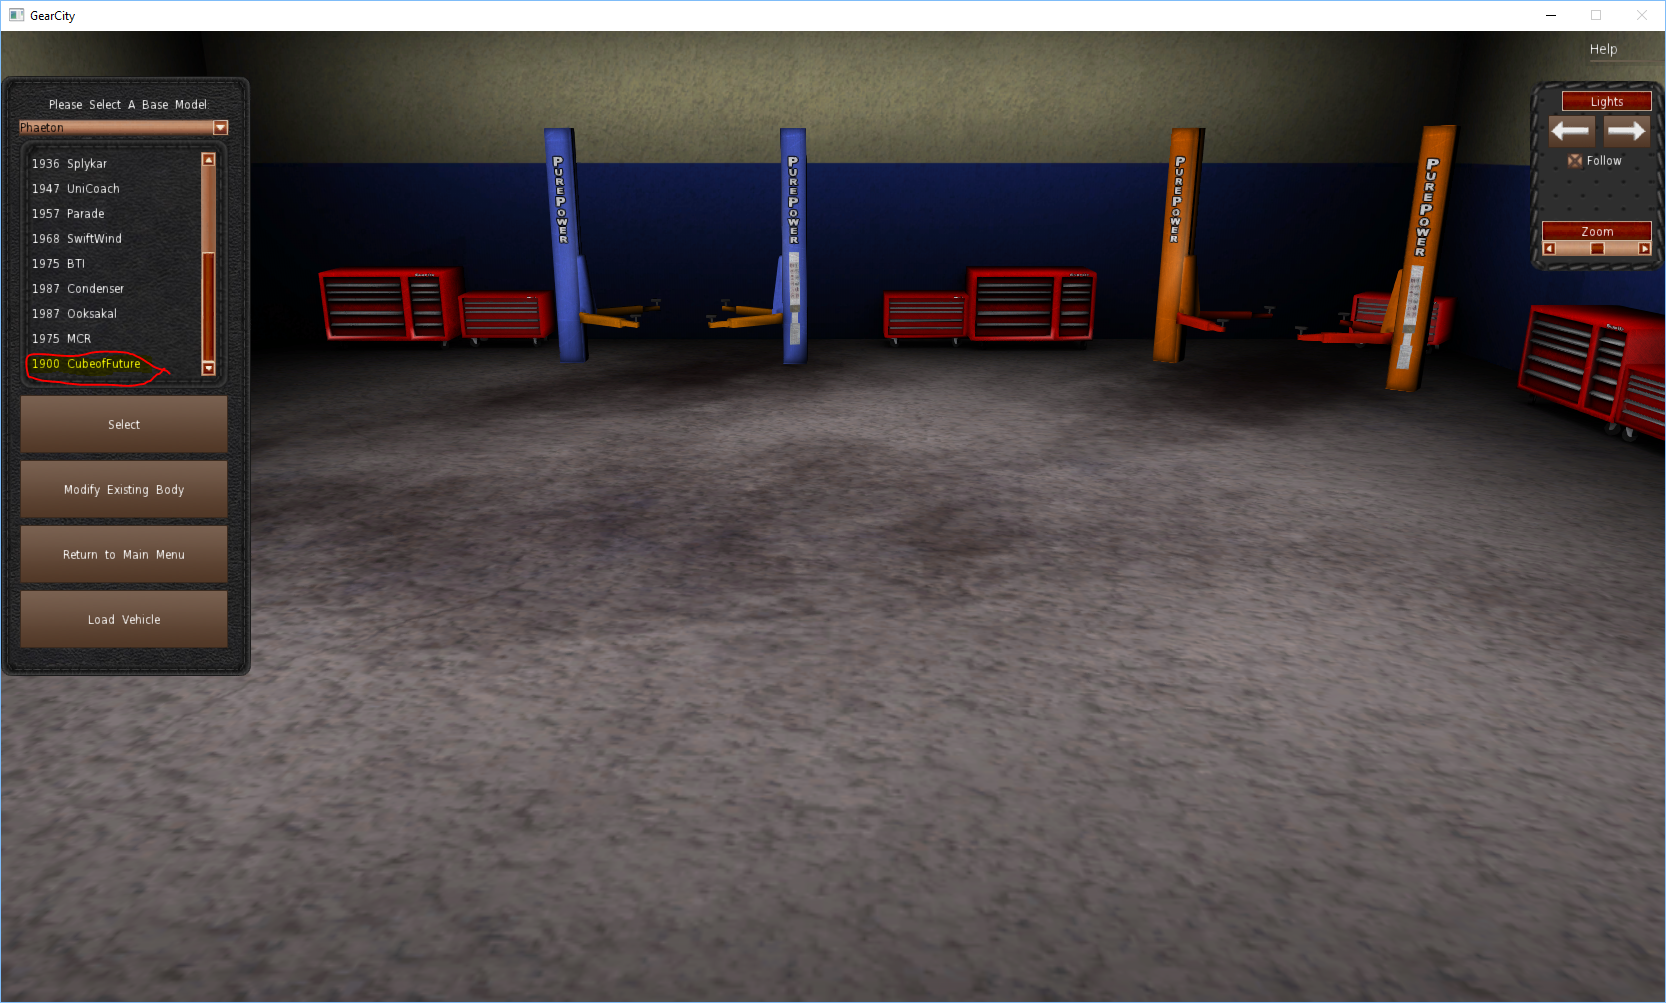
- Select your car type.
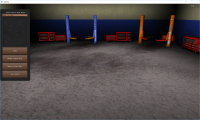
- Now select your model

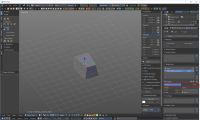
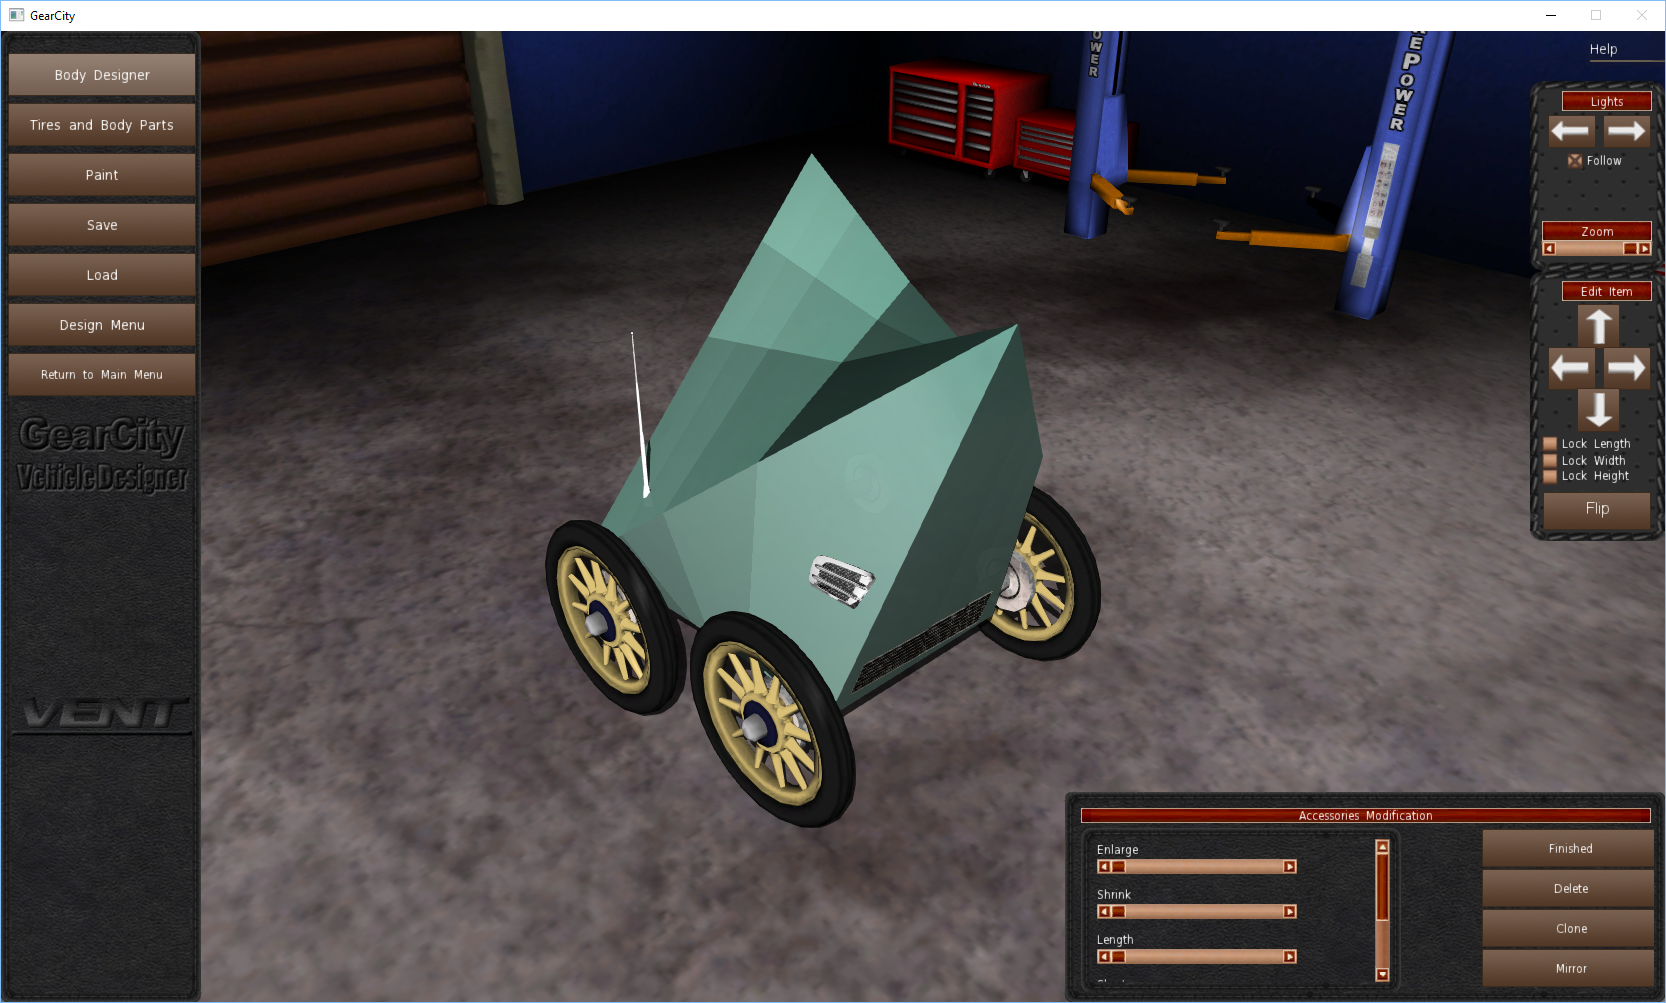
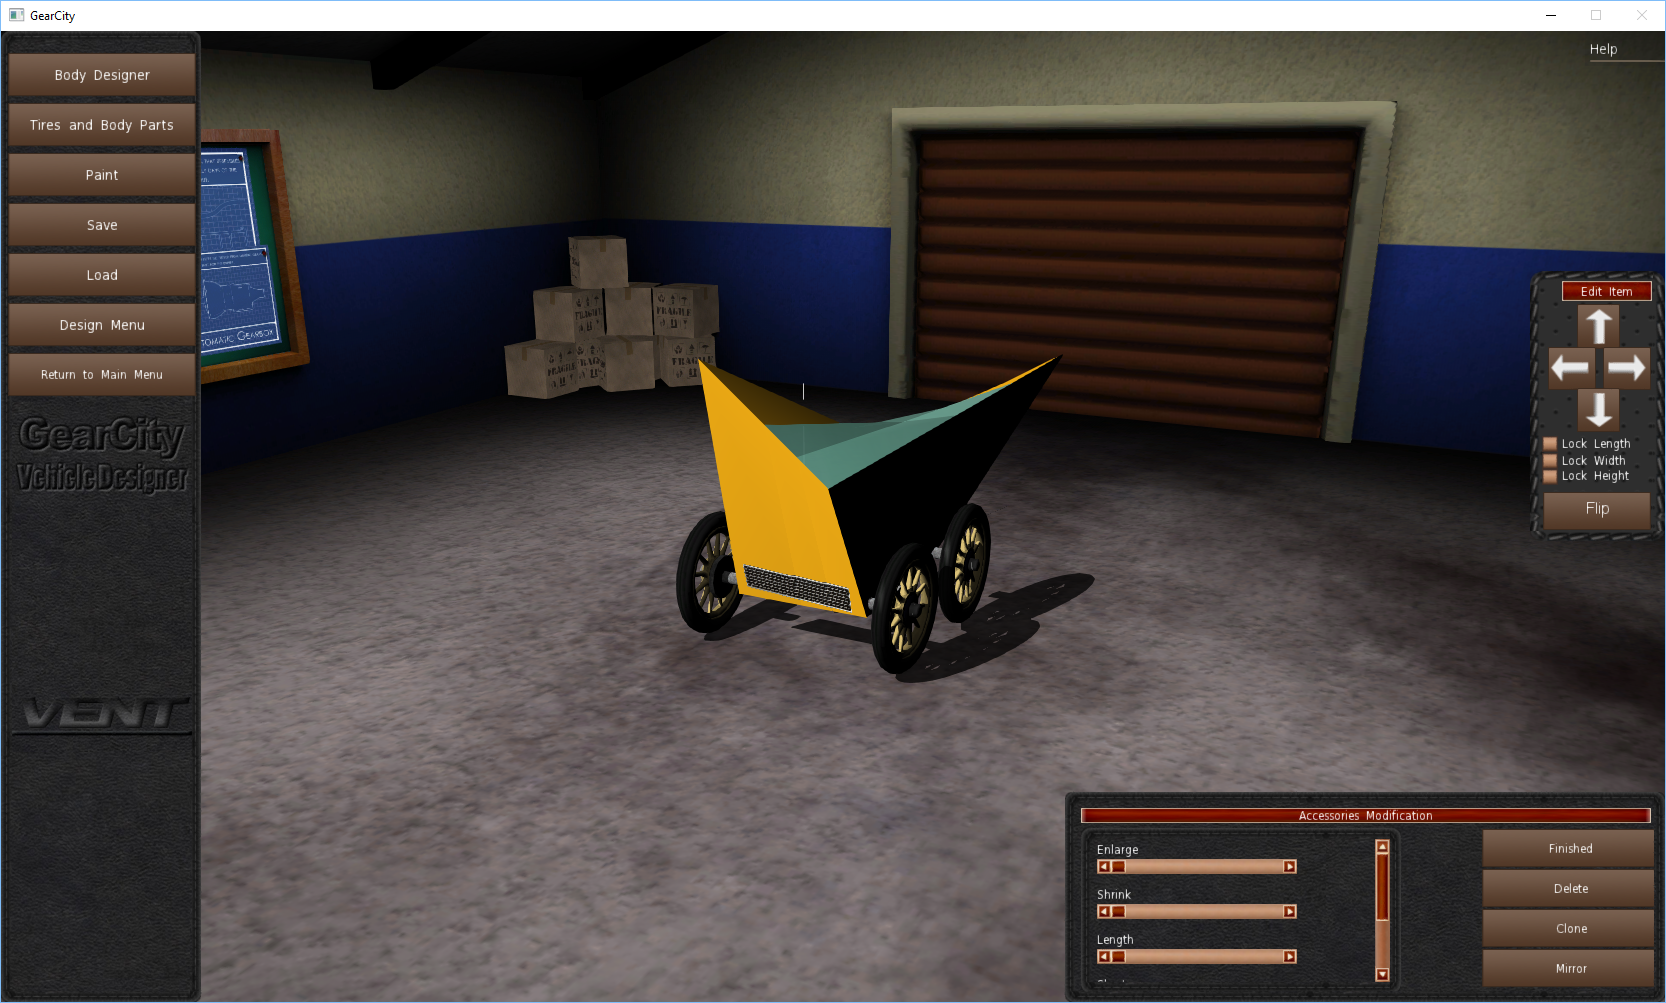
- Now try to add accessories to and paint your car base. The first picture is a car with one submesh and the second one has two.

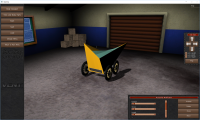

If the game didn’t instantly crash on you when you selected your car base, the custom model was successfully imported.
Troubleshooting
If you select your car base and the game crashes, you may get an ID-10T error. If this happens please open the game again and put more 710 fluid in your car this time.
Just joking more than likely you forgot a step, but a lot of mechanics and tech support operators probably just cringed at my bad joke, sorry.
To find out what went wrong find Logfile.log.

- Now open it in a regular text editor like Notepad.
- Now, push “ctrl+f” on your keyboard and search for “EXCEPTIONS”


There is a high chance you forgot to do an Animation. Go back Blender or Bforartist and create the key frame animation you forgot. If this doesn’t solve your problem create a new discussion on Steam Discussions. Eric is the creator/developer of GearCity and he will help you.