
Table of Contents
New Game HQ Selection
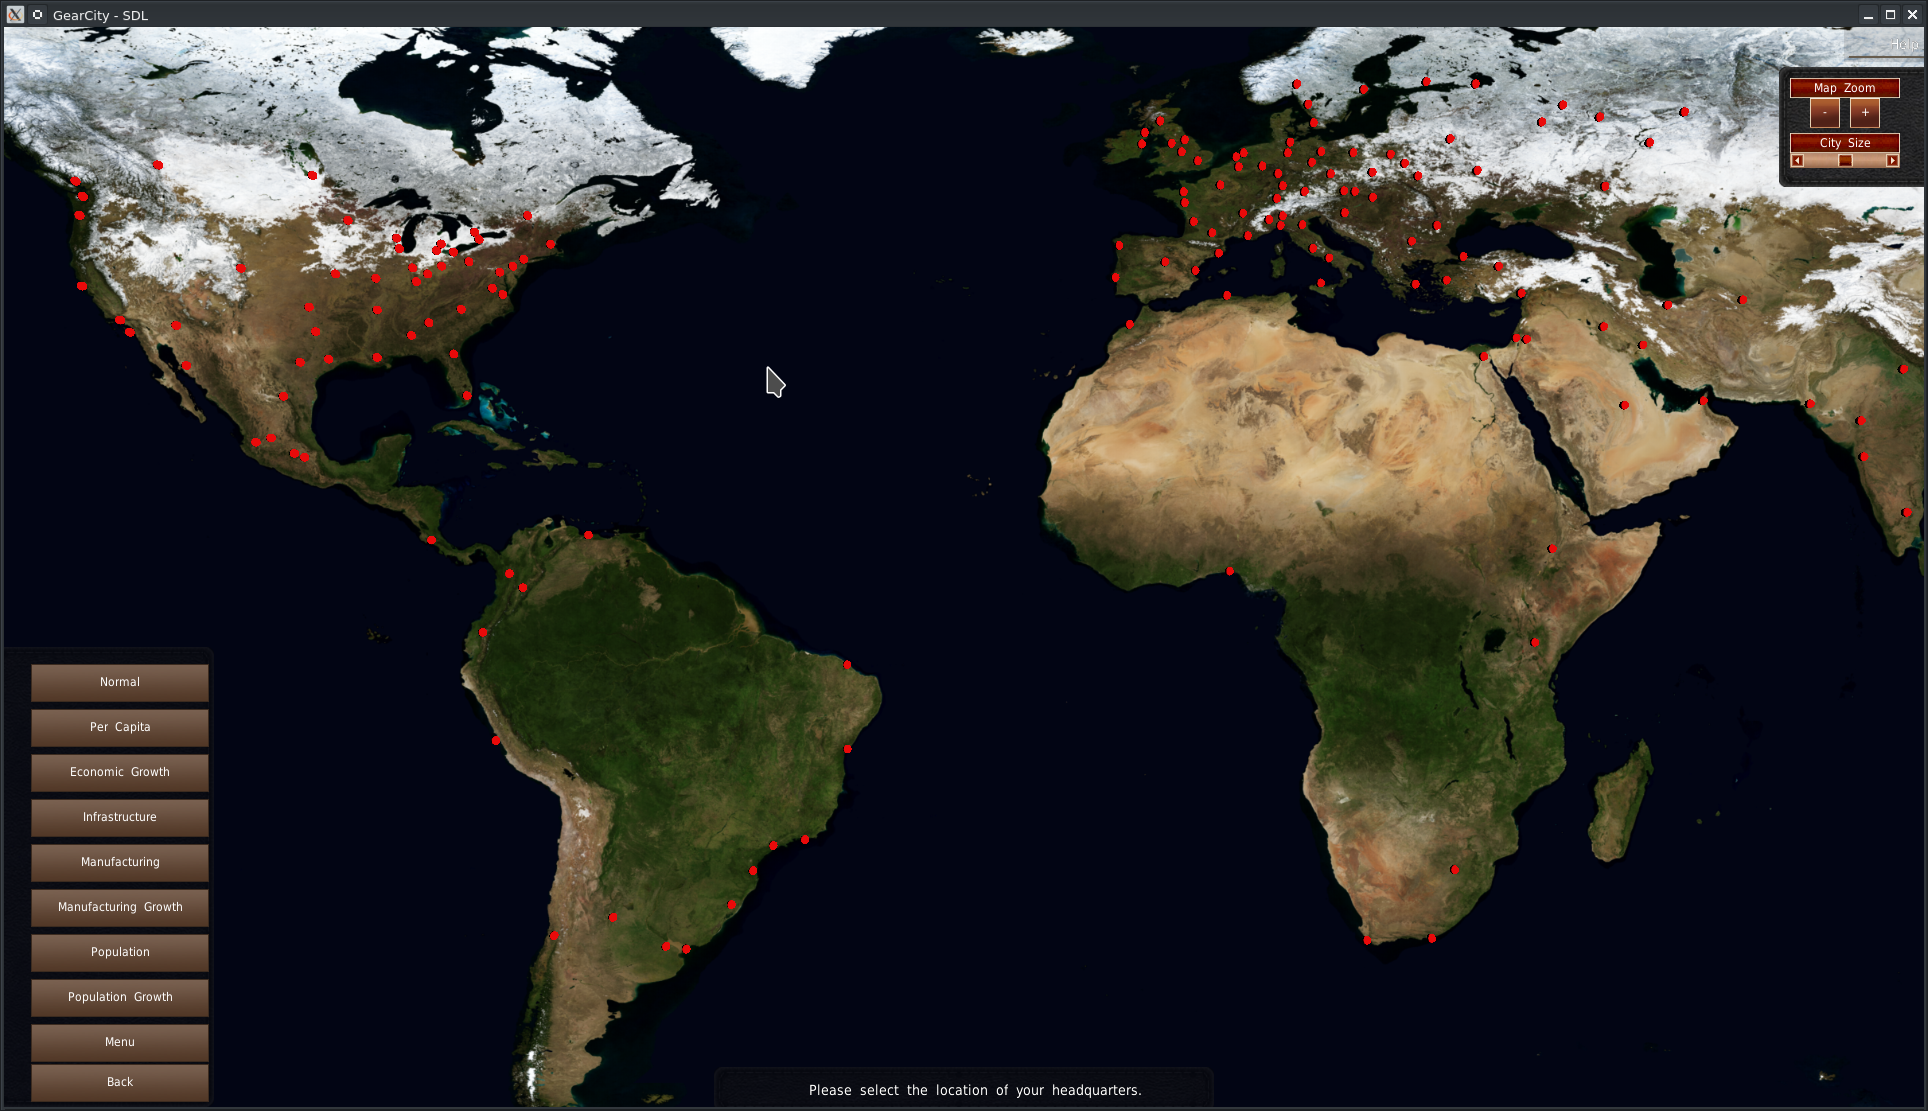
After clicking continue from the Main Menu, the game presents you with a world map. This is the Head Quarters (HQ) selection phase of starting a new game.
Your Head Quarters is the base of your company, and it will aid you in your growth or present many different challenges. See Selecting Good Locations for tips on selecting an HQ.
The World
 There are two types of maps in GearCity: city-based and territory-based.
They both work effectively the same, except how you interact with them is slightly different.
With a city-based map, the game represents the world with many individual cities. And those cities appear as dots on the map. Clicking a dot will open the City Information window.
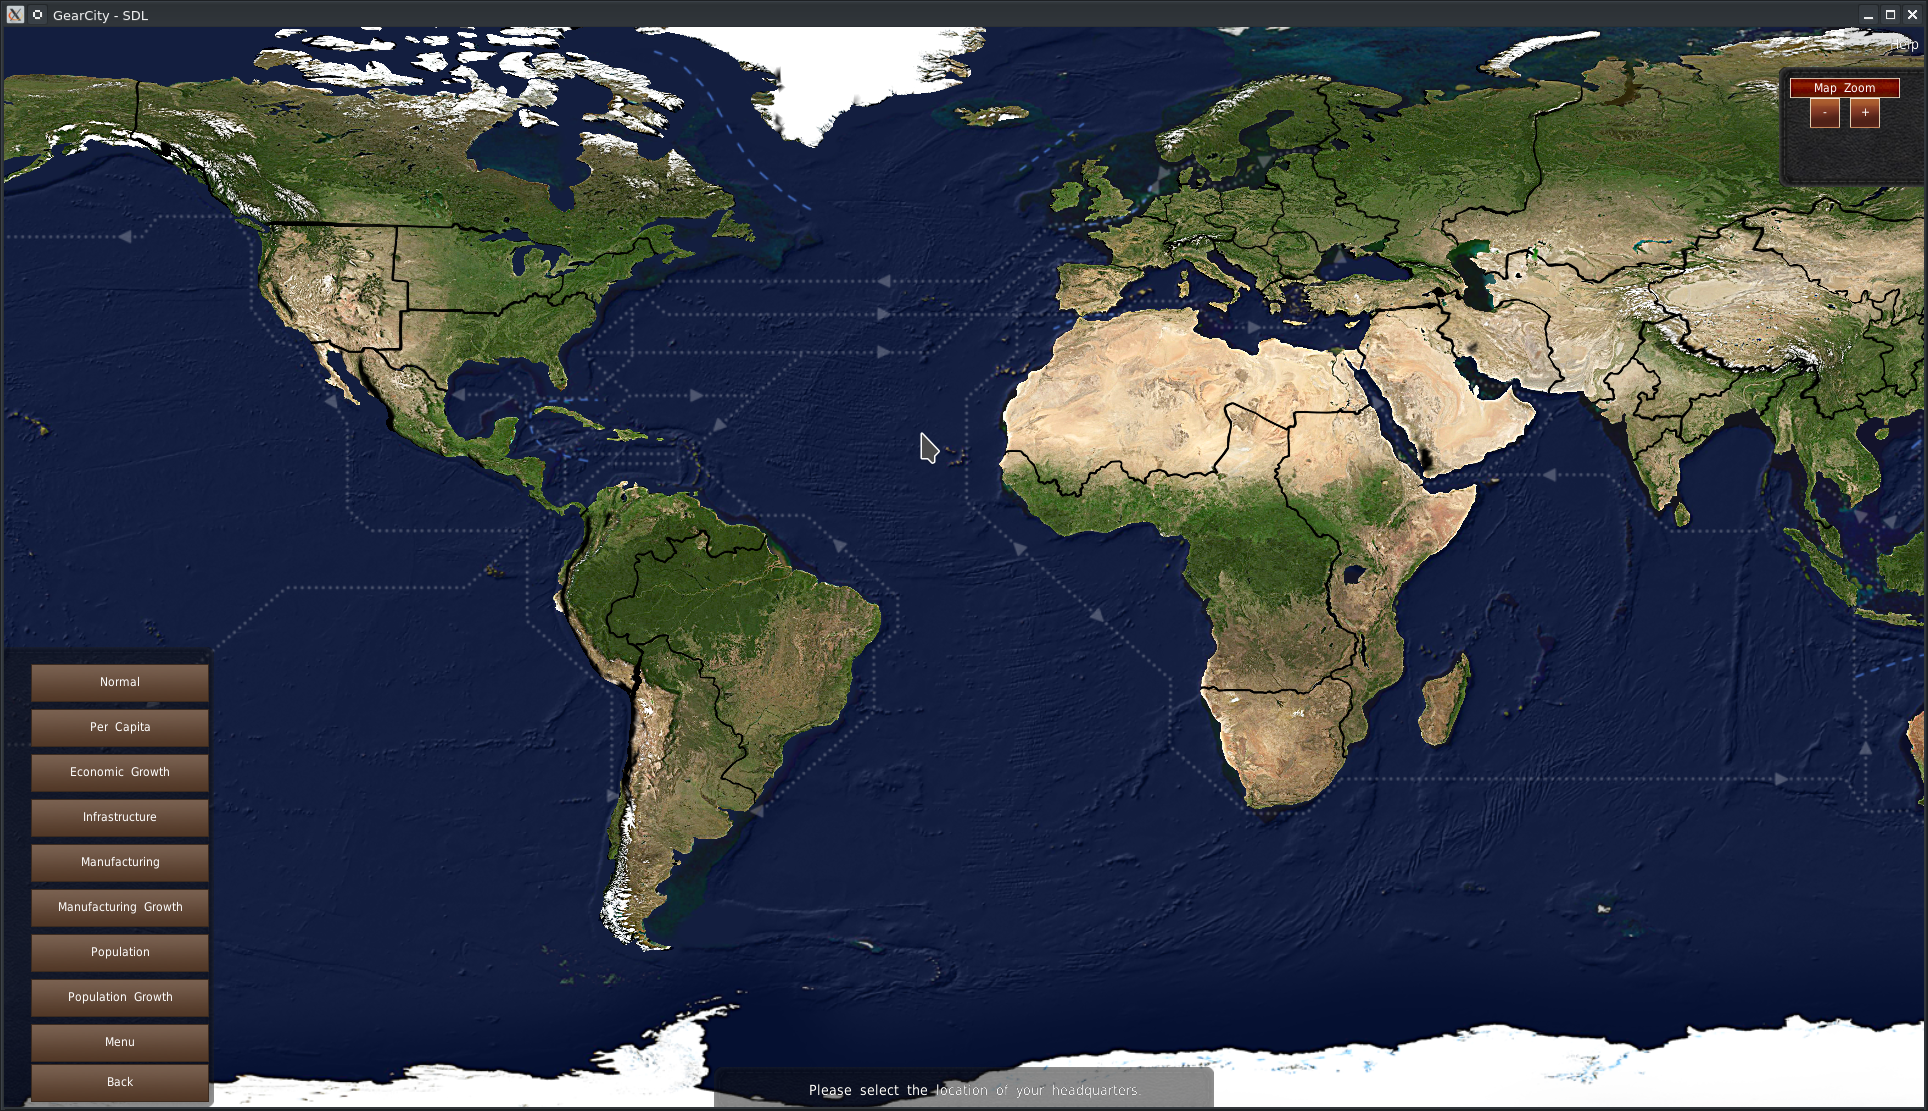 On territory-based maps, we break down the world into territories. Clicking a territory will open its Information window.
Top Bar
At the top of the screen is the Help Menu. See the Top Bar and the Help Menu pages for more information.
Map Data Menu
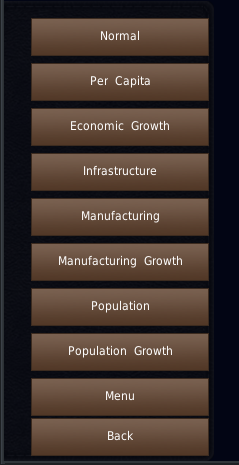
At the bottom left, you'll find the Map Data Menu. This system uses the world map to give you data about every city at once. Clicking any one of these buttons will change the colors of the cities or territories. The game also supplies a legend on the bottom right-hand side explaining what each color value means.
See Data Maps for information on the map data choices.
Map Data Legend
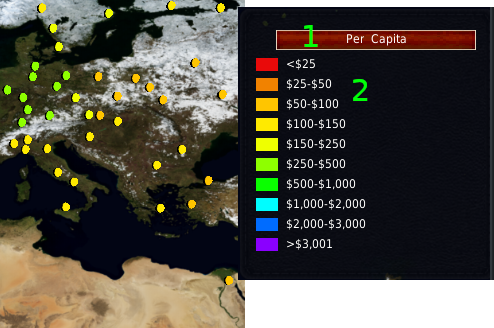
The Map Legend appears any time you selected a Map Data point other than Normal. The Legend is here to let you know what the color values on the map mean.
The header of the Legend (#1) lets you know what data you have selected. The colors of the cities or territories are under the header (#2). And the color's values, represented as a single value or range of values, are next to the colors.
City Information

Upon clicking a city or territory, the game will display the City Information window.
This window contains information about the city's population, per capita income, variables that primarily affect production and sales, and growth values for those variables. The window shows variable values with stars. Those stars range from bad (half a red star) to great (4 green stars).
See City Variables for more information on what each variable means and how they're used in the game.
See Selecting Good Locations for tips on picking a good location for an HQ.
Once you have found a desirable location, click the “Select” button at the bottom.
Player Creation

After selecting a city, the Player Creation window appears. Here you will enter your name (#1), the name of your company (#2), and select a logo (#3).
After you do these things, you will need to determine how many AI companies you wish to play against from the drop-down (#4). The more AI you play against, the harder the game is, but the slower turn-times take. Likewise, fewer AI may cause the game to be too easy.
After completing this form, click the “Continue” button (#5).
If you wish to return to City Selection, click the “Cancel” button (#6).
Map Controls
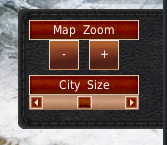
At the top right of the window is the Map Controls. This group of buttons allows you to zoom in and out of the map with the plus and minus buttons. And on city-based maps, you can adjust the slider to change the size of the city dots.
Game Menu
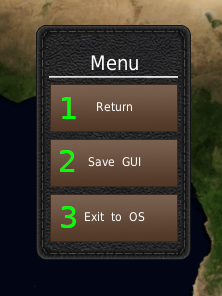
To access the game menu, hit the escape button. There are only three options to choose from.
- The Return button closes the Game Menu.
- The Save GUI button will save the position and size of the in-game windows. See Adjusting and Saving Window Sizes
- The Return To OS button exits the game.